Update Note: As mentioned the SD card should be 2GB or less and formatted as FAT16. Due to addressing restrictions the SD card should contain only one partition, created as PRIMARY PARTITION with no unallocated space before the partition. Please note that some SD cards come with partitions, created as logical partitions and need to have their partitions recreated as mentioned previously.
If you want to characterize a rocket motor an ordinary DAQ system, capable of about 100 samples per second, will suffice. However there are also some resonant burning processes that I am interested in and want to check out. To do that I would need a higher speed DAQ system, capable of recording at higher rates. So I decided to make my own data logger capable of recording up to 20k samples per second.
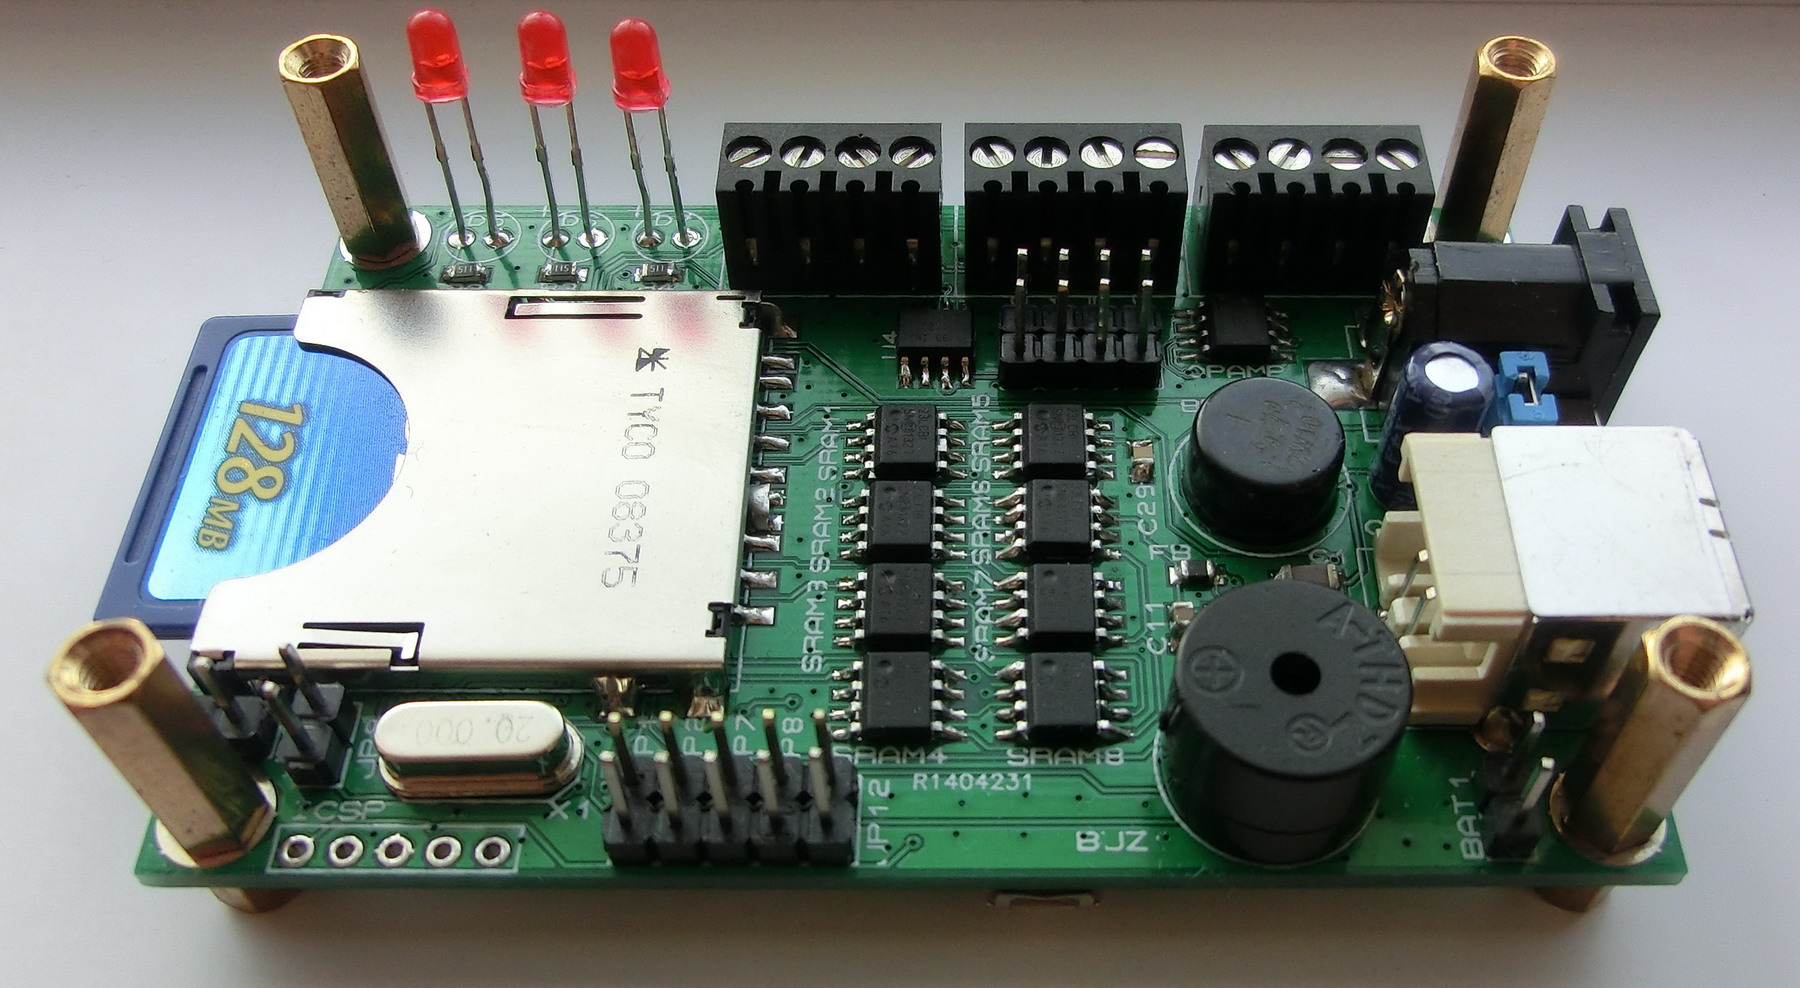
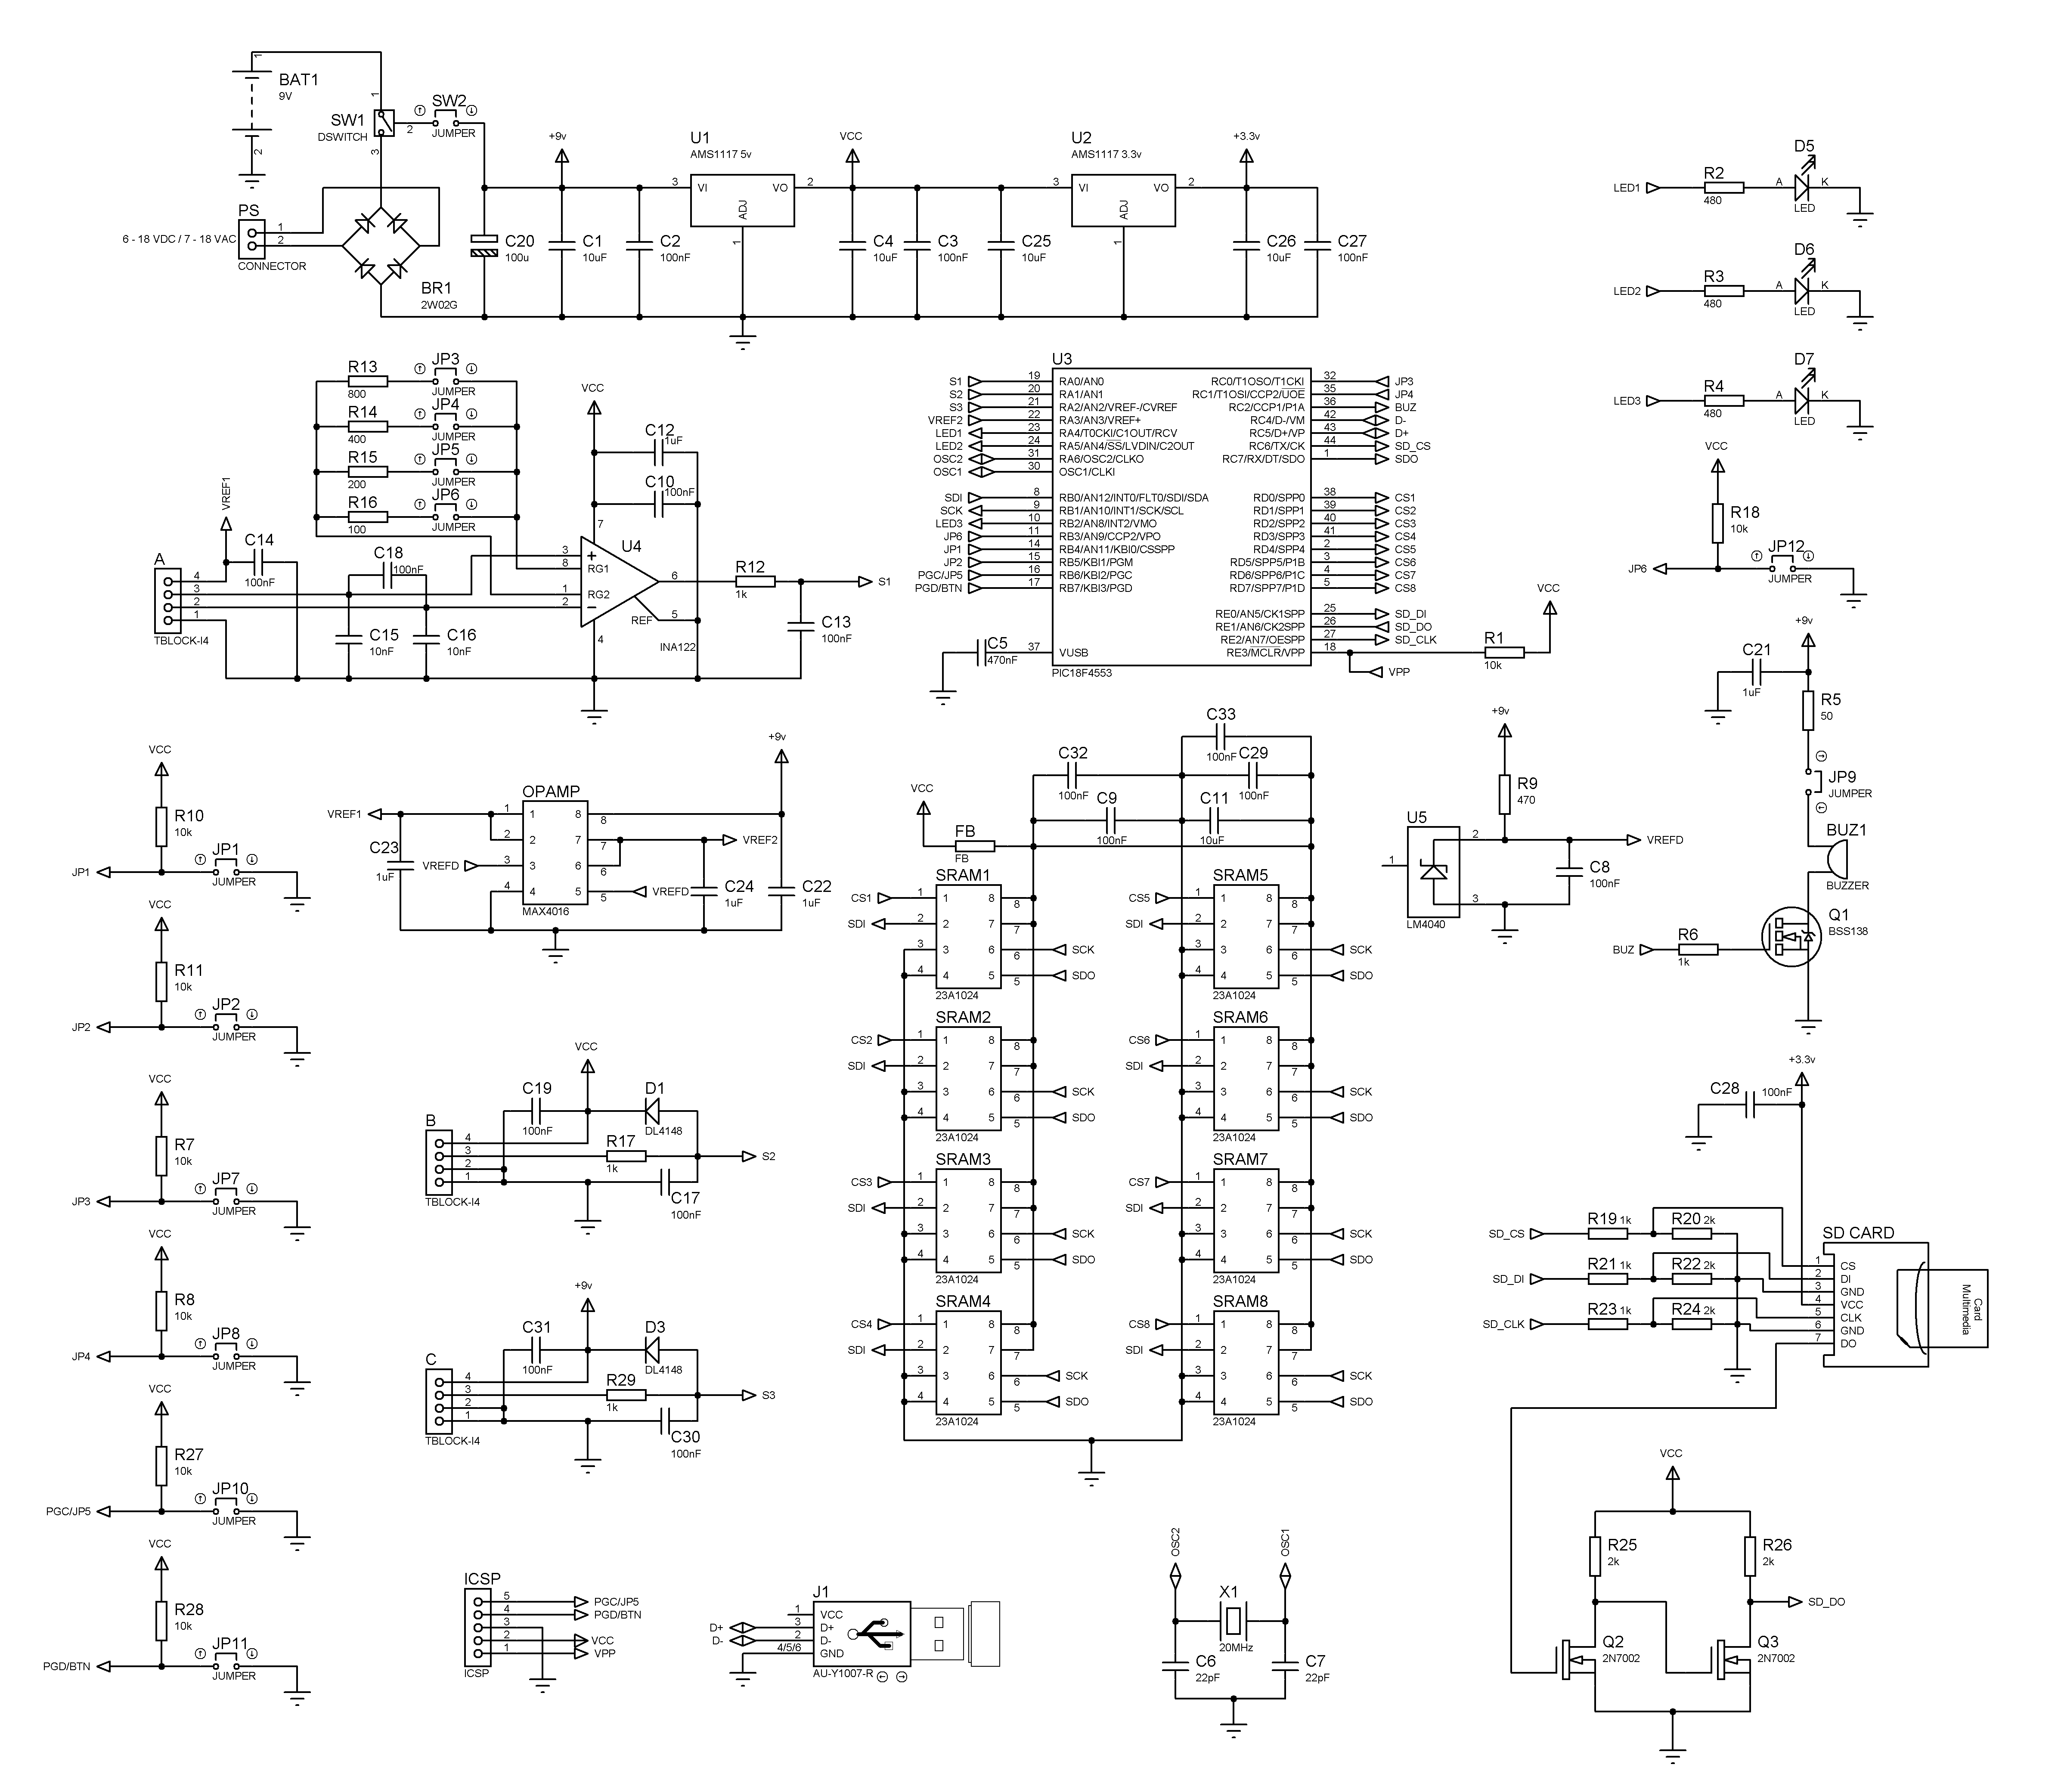
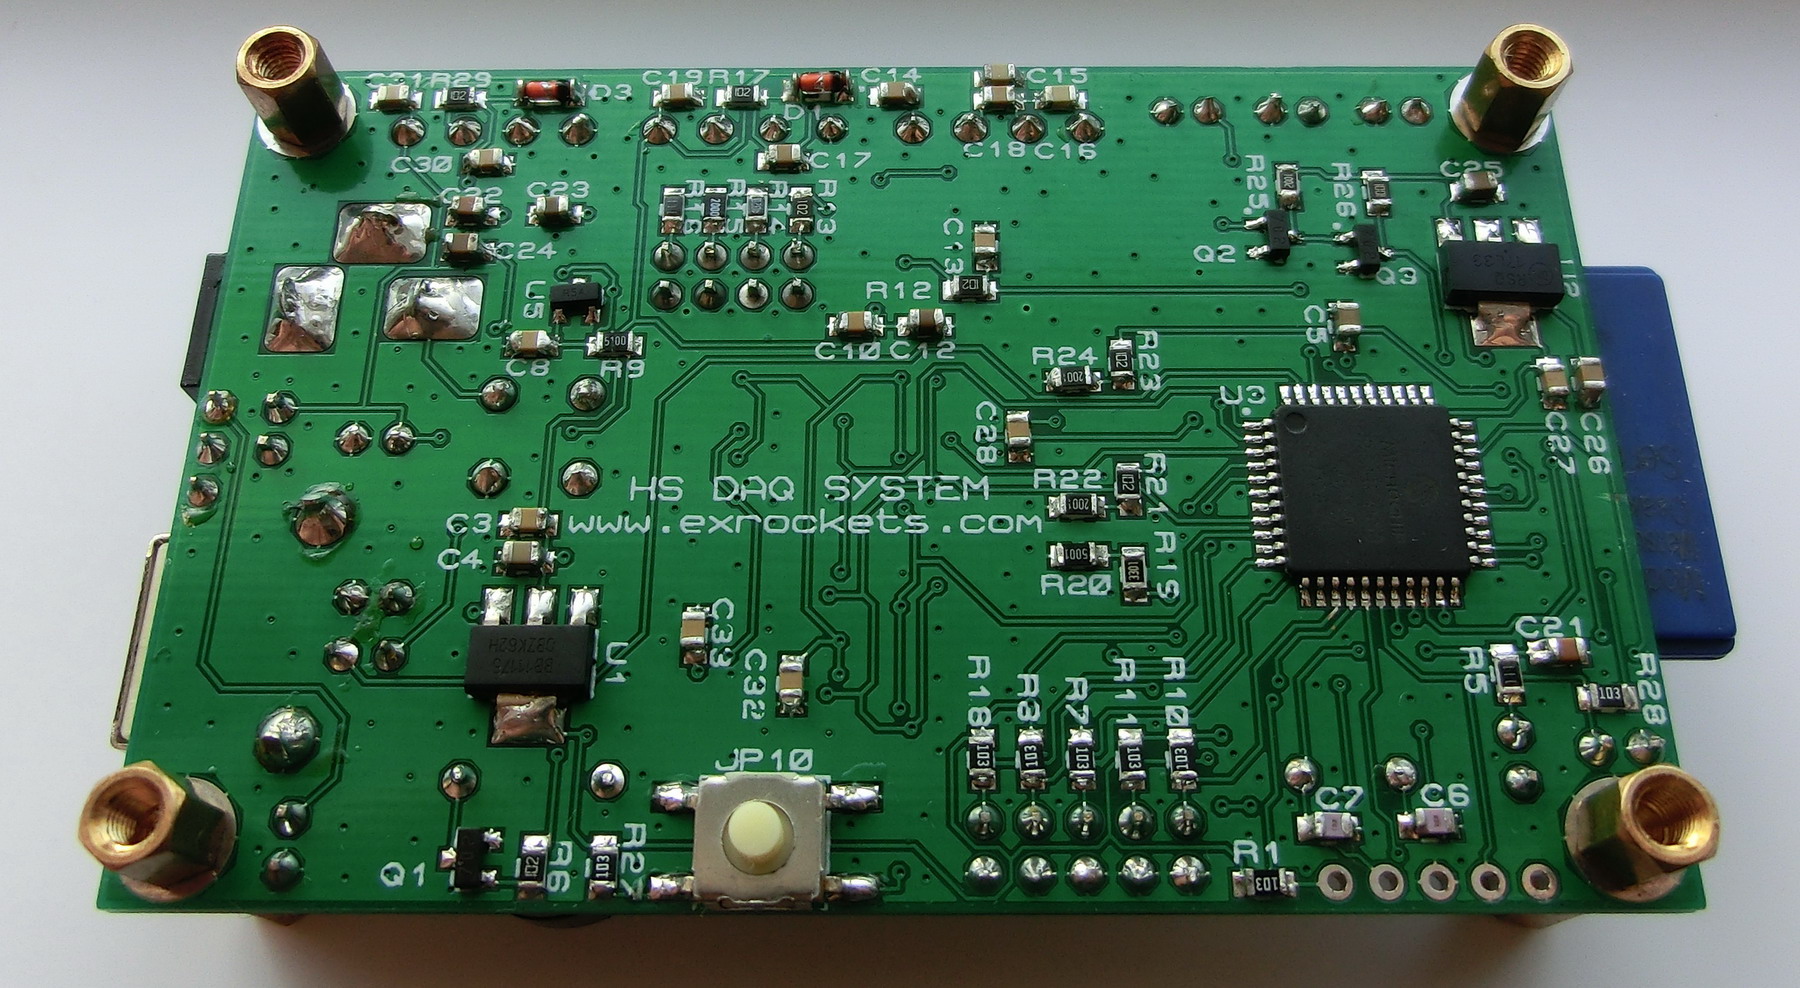
Although 20 ksps is not that much, recording data for about half a minute with an ordinary 8bit MCU at that speed requires some data buffering. As a data buffer I decided to use some serial SRAM chips. In my case I have put 8x1Mb chips for a total of 8Mb RAM buffer. Then of course the data can’t be kept in the RAM so it has to be dumped on some other non-volatile media which in my case is a SD memory card.
The design by itself is very straightforward with two particularities.
- The power supply needs both 5v and 3.3v for the SD memory card. The MCU needs the full 5v for operating at 48MHz and it has to be interfaced to the 3.3v SD card. The 5v à3v level translate is done by ordinary resistive voltage divider and the 3.3v à 5v is done by two MOSFET transistors. You can actually use only one transistor but you will have inverted logic states – considering that I have enough space on the PCB I used double inverter.
- For powering the SD memory card you will need a separate 3.3v regulator because according to the SD specifications the memory cards could draw up to 250mA.
So what is this DAQ system capable of?
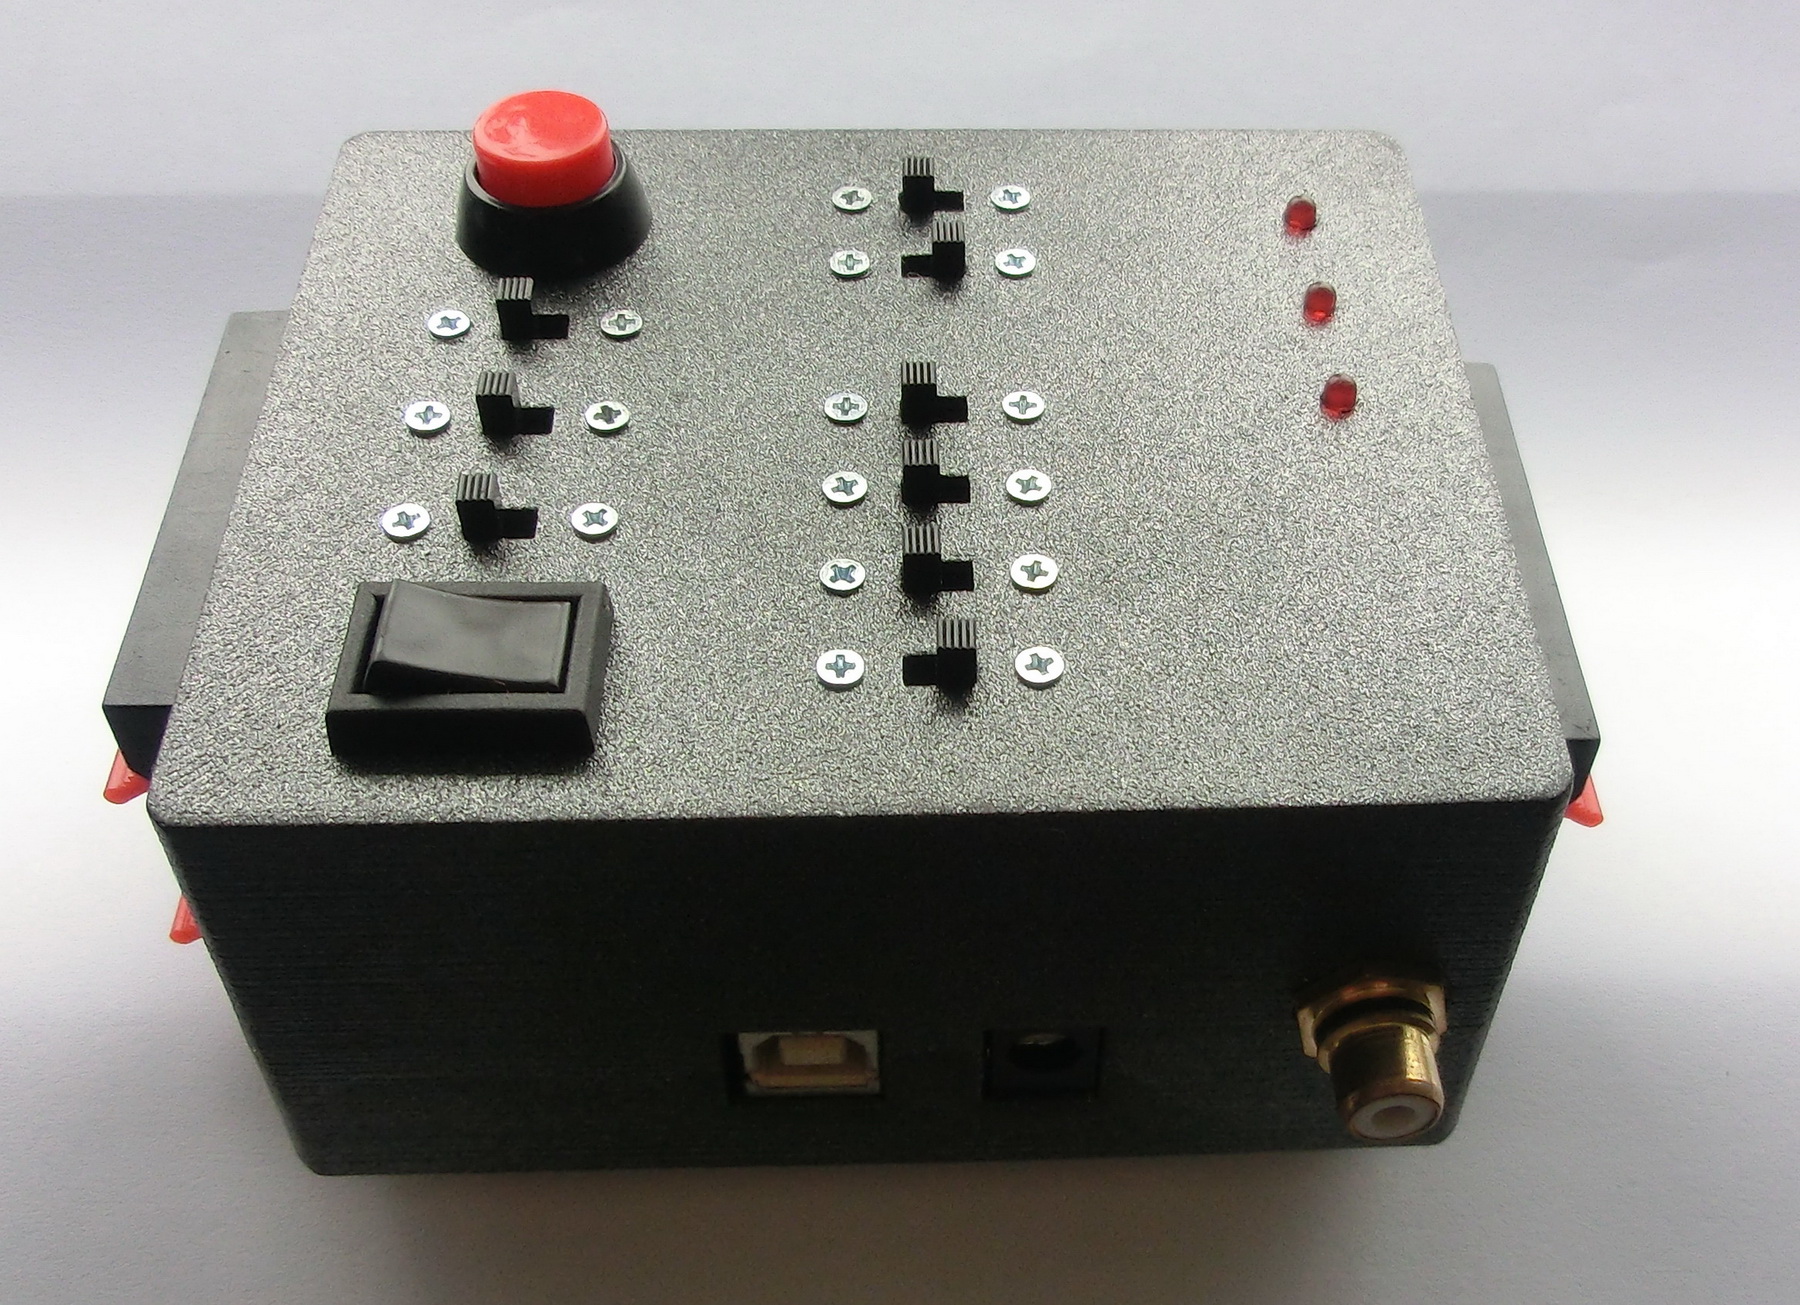
- 3 input ports
- PORTA is buffered through an IA (INA122) and has a selectable gain through JP3, JP4, JP5 and JP6
- PORTB and PORTC are directly connected to the MCU’s DAC
- Buffered 5v reference voltage
- Audio and visual notifications
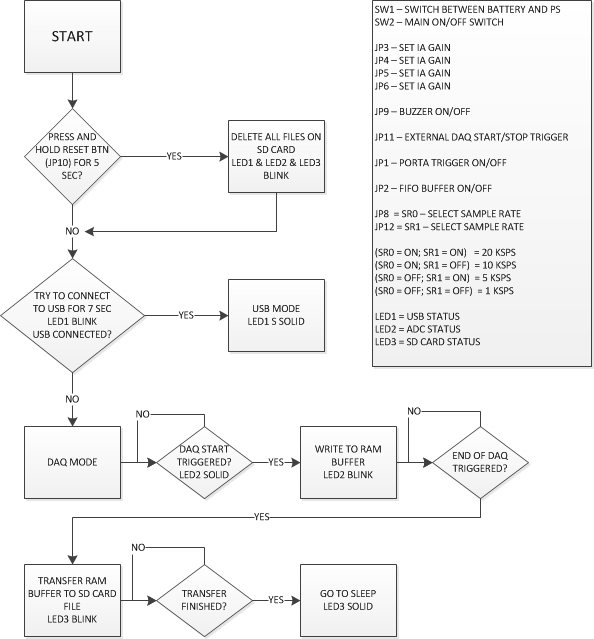
- Sample rates of 20ksps, 10ksps, 5ksps and 1ksps selectable through JP8 and JP12
- External start/stop trigger (active low) on JP11
- Software start trigger on PORTA on/off selectable by JP2
- FIFO buffer on/off selectable by JP2
- Standard size SD memory card
Switching on and off JP3, JP4, JP5 and JP6 will change the gain of the IA for PORTA. The gain can be easily calculated first by finding the total resistance of all switched jumpers (resistors) using the parallel resistance formula: 1/Rg=1/R1 + 1/R2 + … + 1/Rn. Then the gain for INA122 is calculated as G=5 + 200k/Rg
For 1ksps, 5ksps and 10ksps data is been sampled from all three ports whereas for 20ksps only PORTA is sampled. Therefore the total buffer time for 1ksps is 175sec, for 5ksps – 35sec, for 10ksps – 17.5sec and for 20ksps – 26sec.
The external start/stop trigger (active low) can be used to manually start and stop the recording by using an extension cord and a push button, also it can be used with an electronic trigger. There are two ways to start the recording – using the external trigger or the software trigger on PORTA, available if selected. The software trigger is actually a small RAM buffer in the MCU that looks for 4 consecutively increasing readings before the recording starts. There also two ways to stop the recording – again by using the external trigger (active low) or when the SRAM buffer is full, available if the FIFO buffer is off.
That being said, I also placed some minimum times before the DAQ stop command can be executed – that is 1/8th of the total buffer size or 21sec for 1ksps, 4sec for 5ksps, 2sec for 10ksps and 3sec for 20ksps.
The FIFO buffer, if selected, allows you once the SRAM buffer is full to loop through the beginning until you manually stop the recording process. It also keeps track of the current position and once the recording stopped, the MCU will dump the data into the SD memory card starting from the oldest to the most recent data. This way you will always have sampled the most recent 175sec for 1ksps, 35sec for 5ksps, 17.5sec for 10ksps and 26sec for 20ksps.
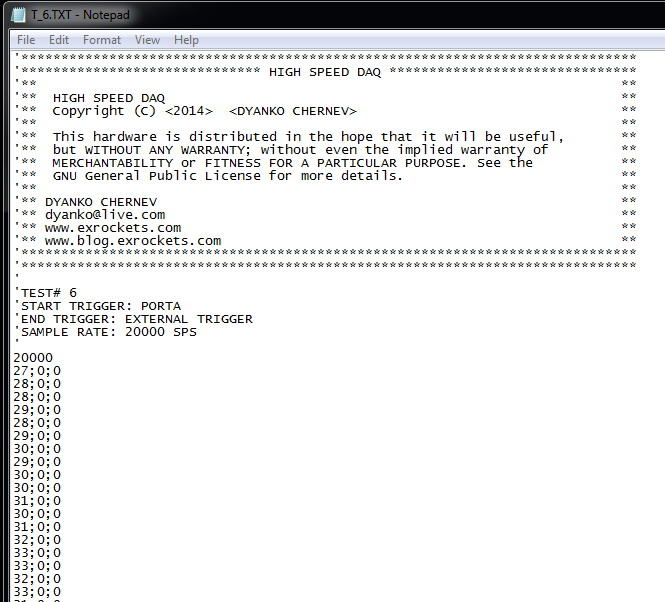
In order to use a SD memory card, it has to be formatted in your computer with the FAT16 format. Then the data from the DAQ will be recorded in a TXT file that can be read in any computer. The firmware in the MCU will keep track of the total tests number. For each test, the DAQ will make a new text file named T_X.TXT where X is the test serial number (ex. T_15.TXT), so you won’t need to worry about which test was what. The data format is very simple – anything with an apostrophe is a comment, the first row of data without apostrophe is the sampling rate and then the data for each channel, separated by semicolon as shown on this screenshot:
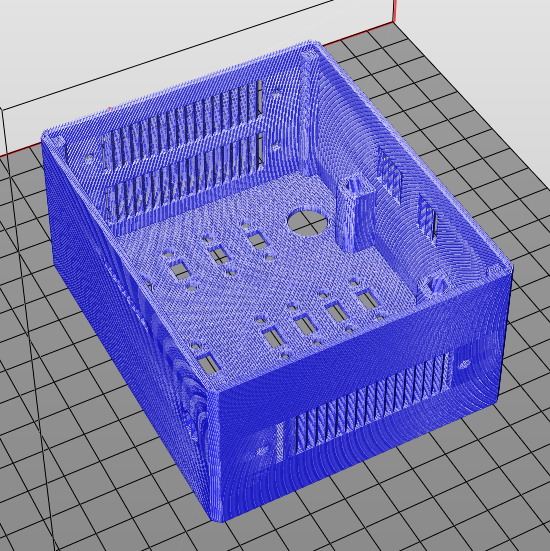
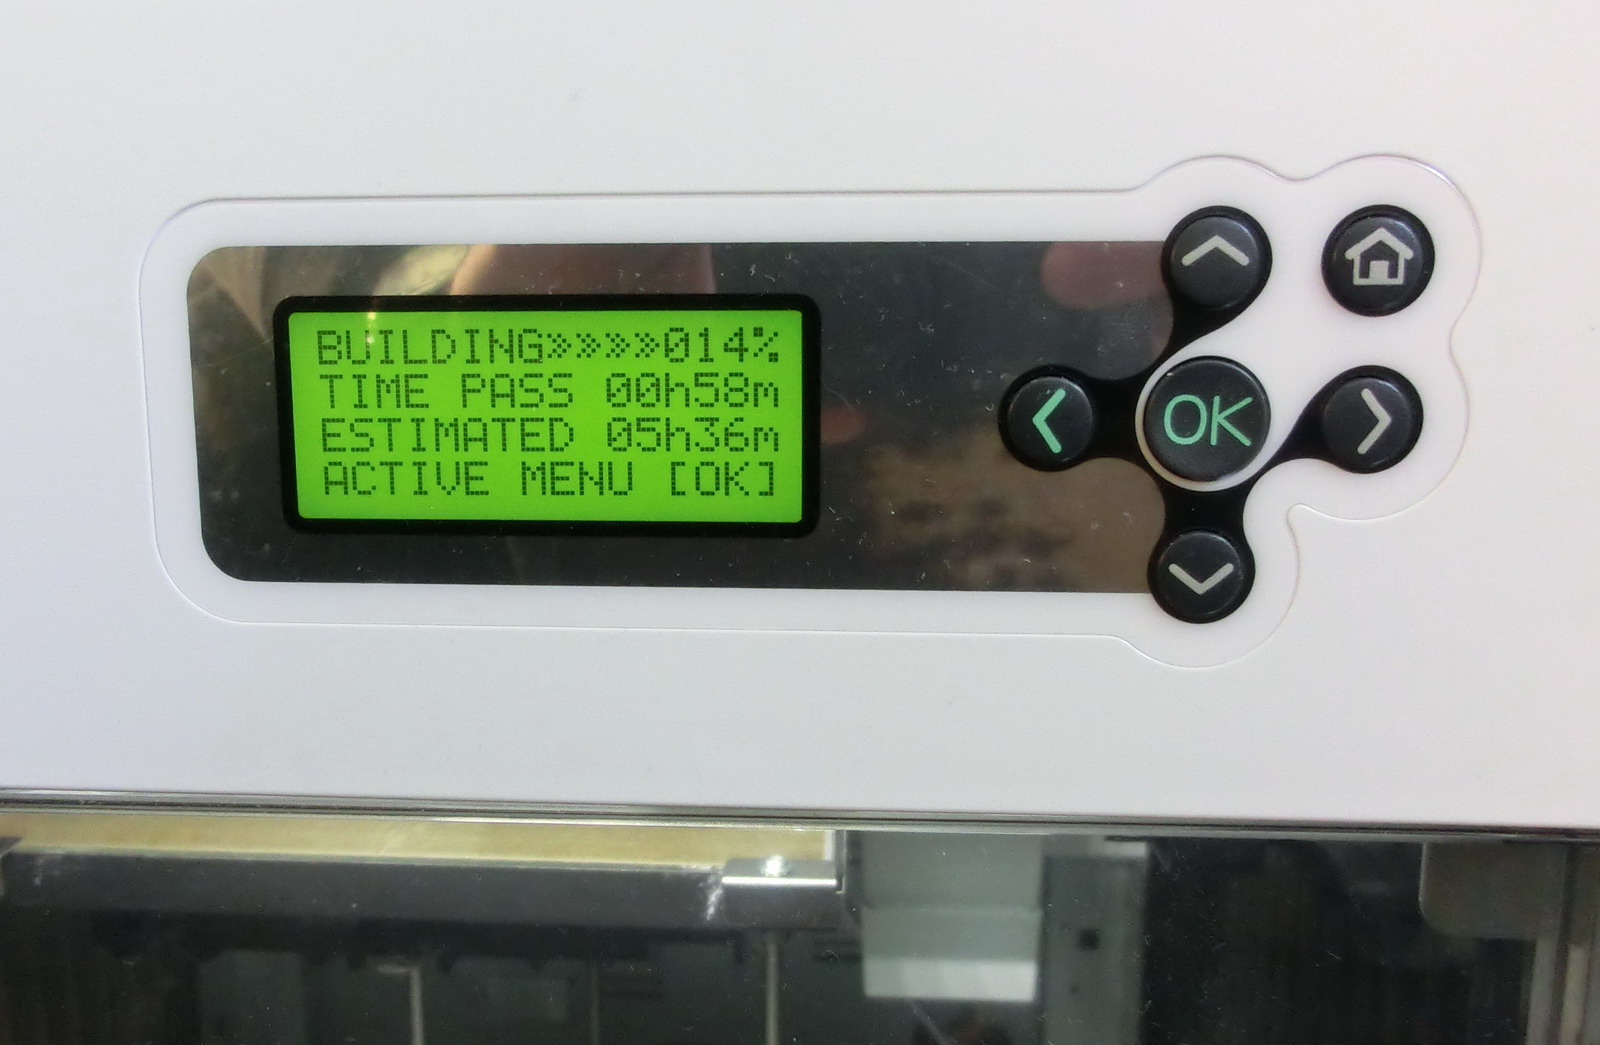
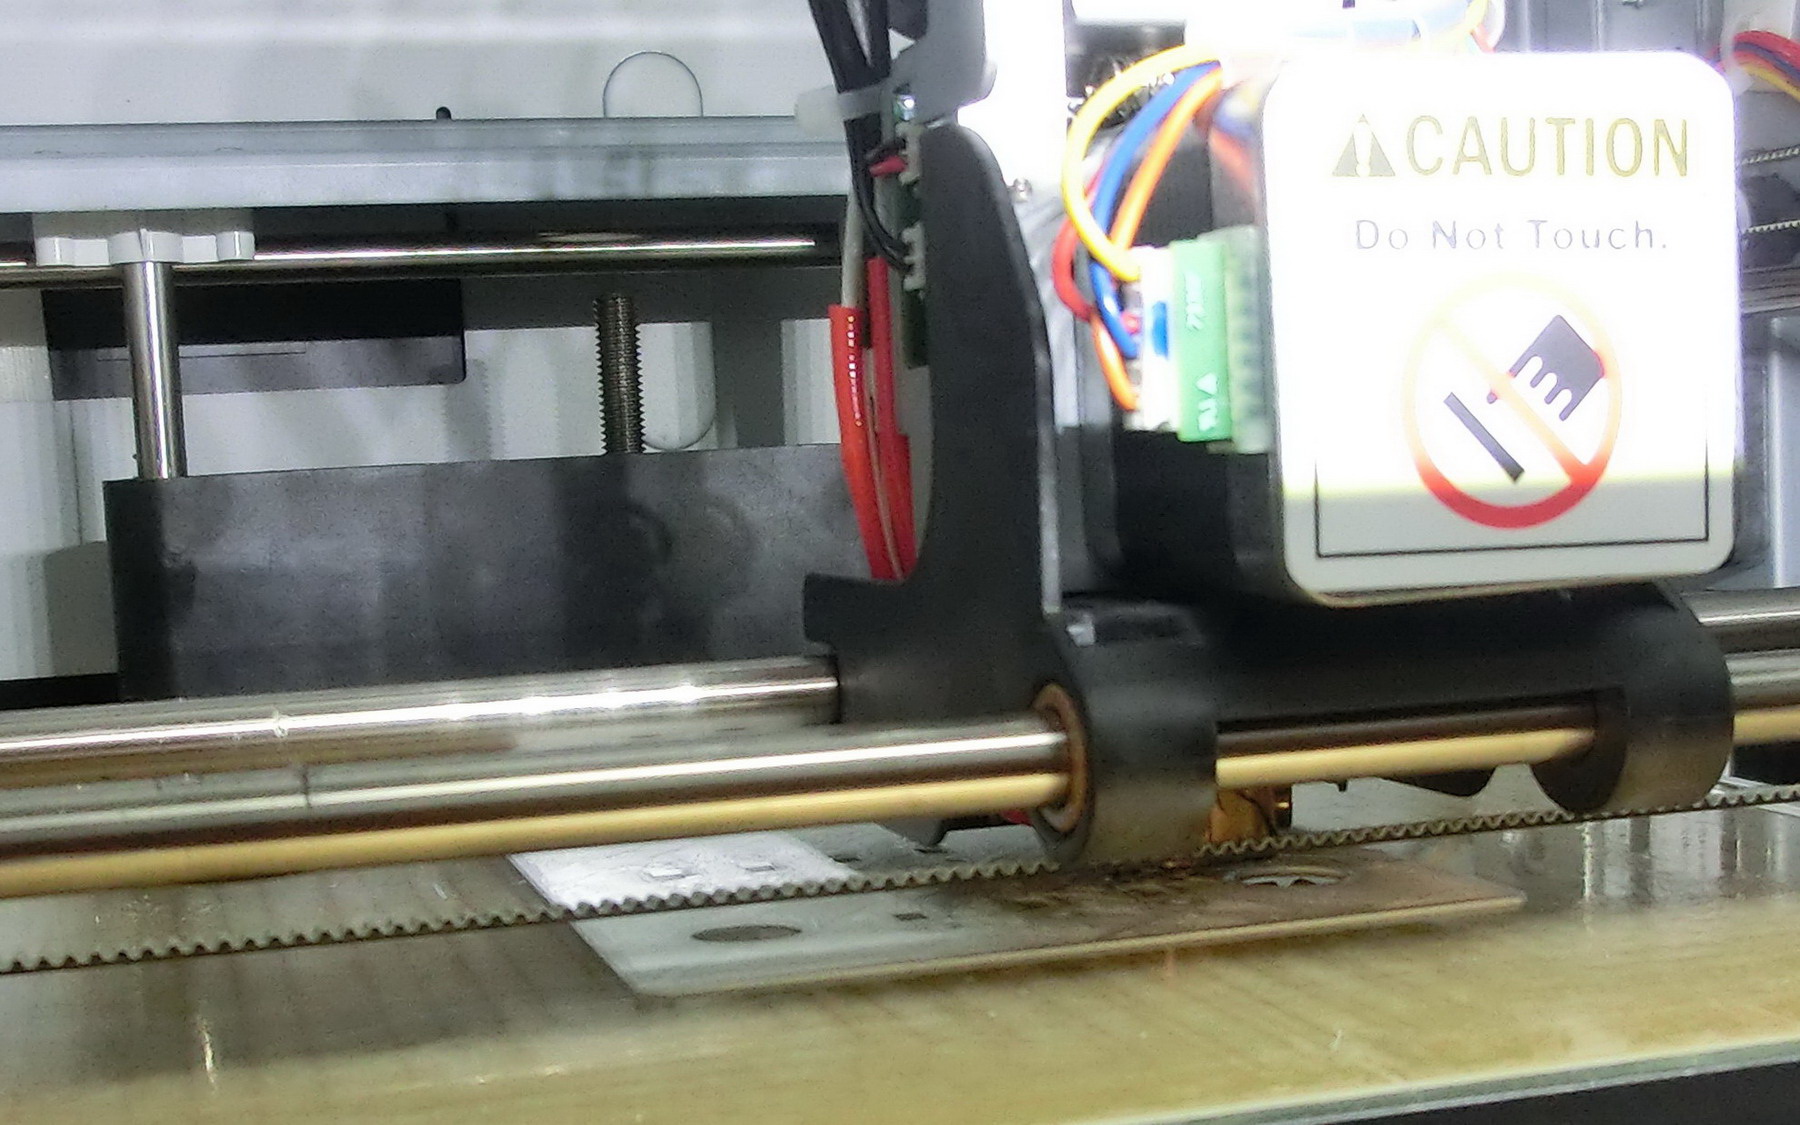
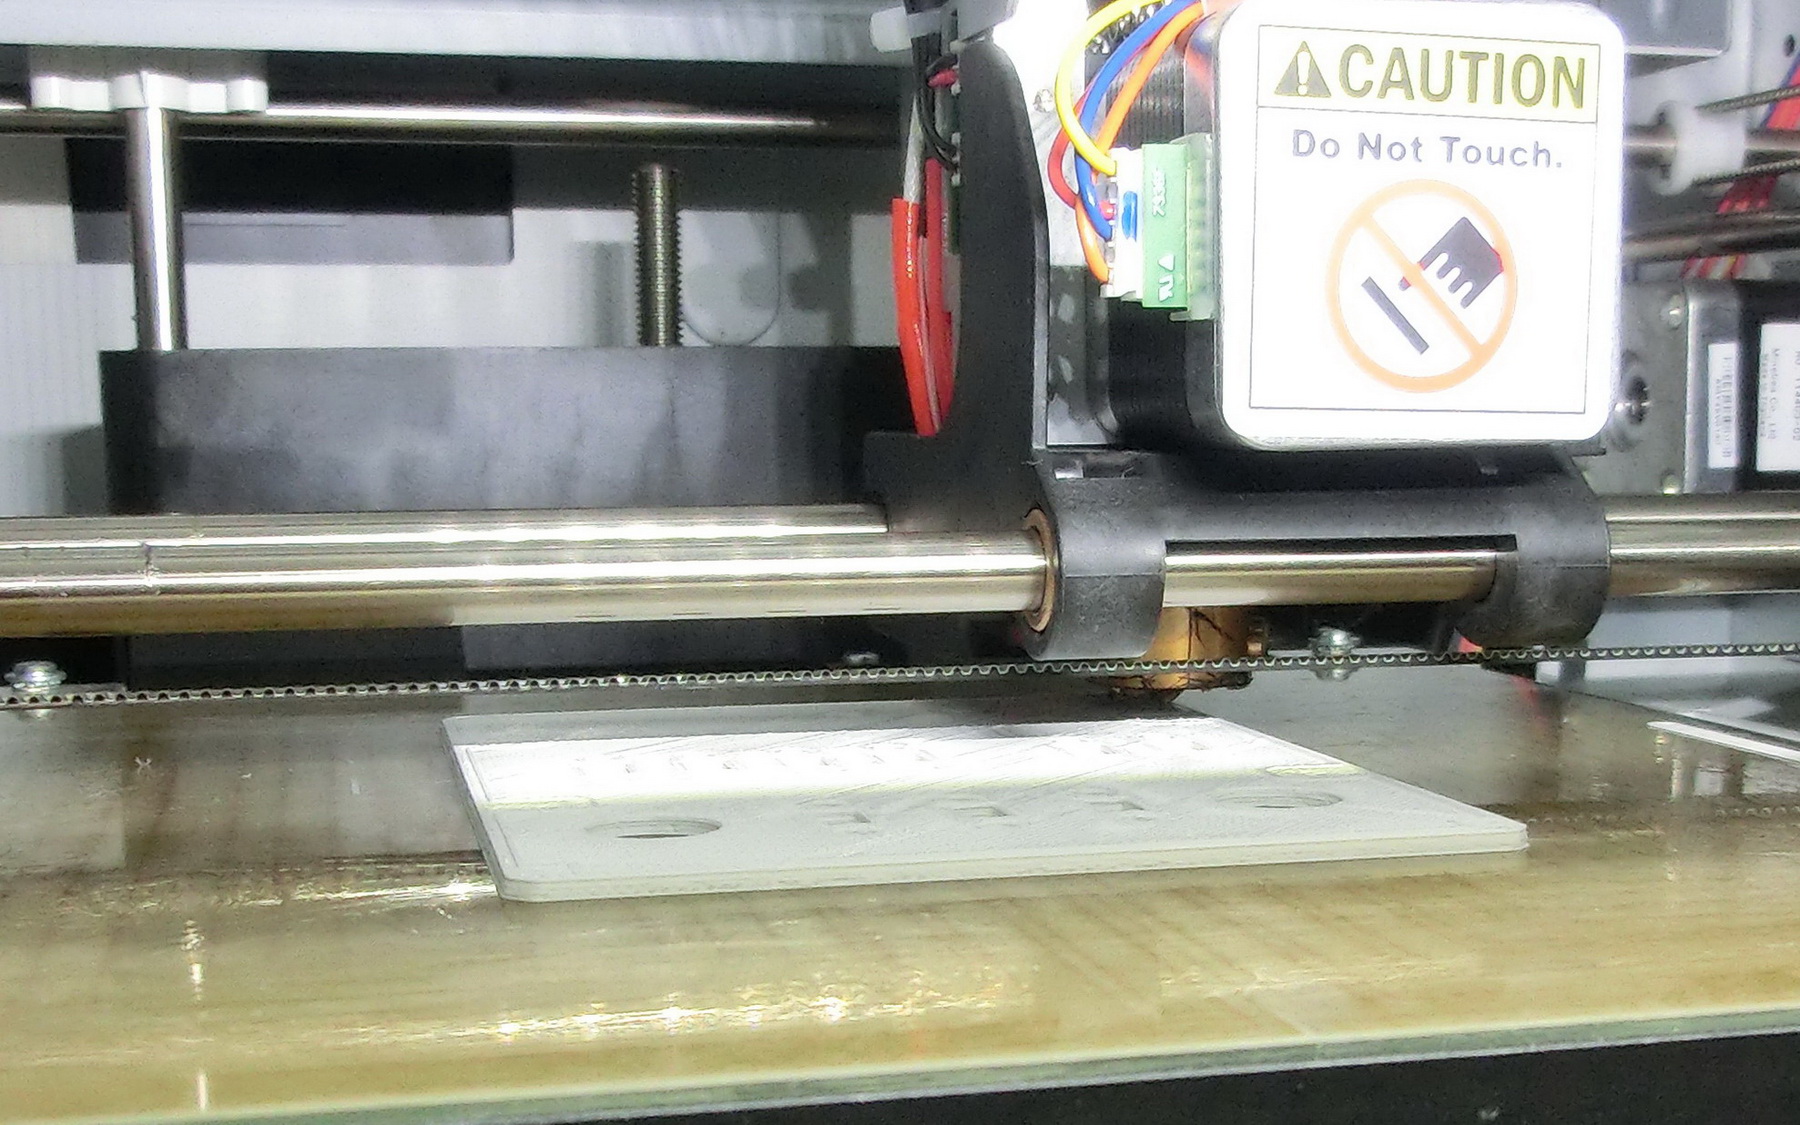
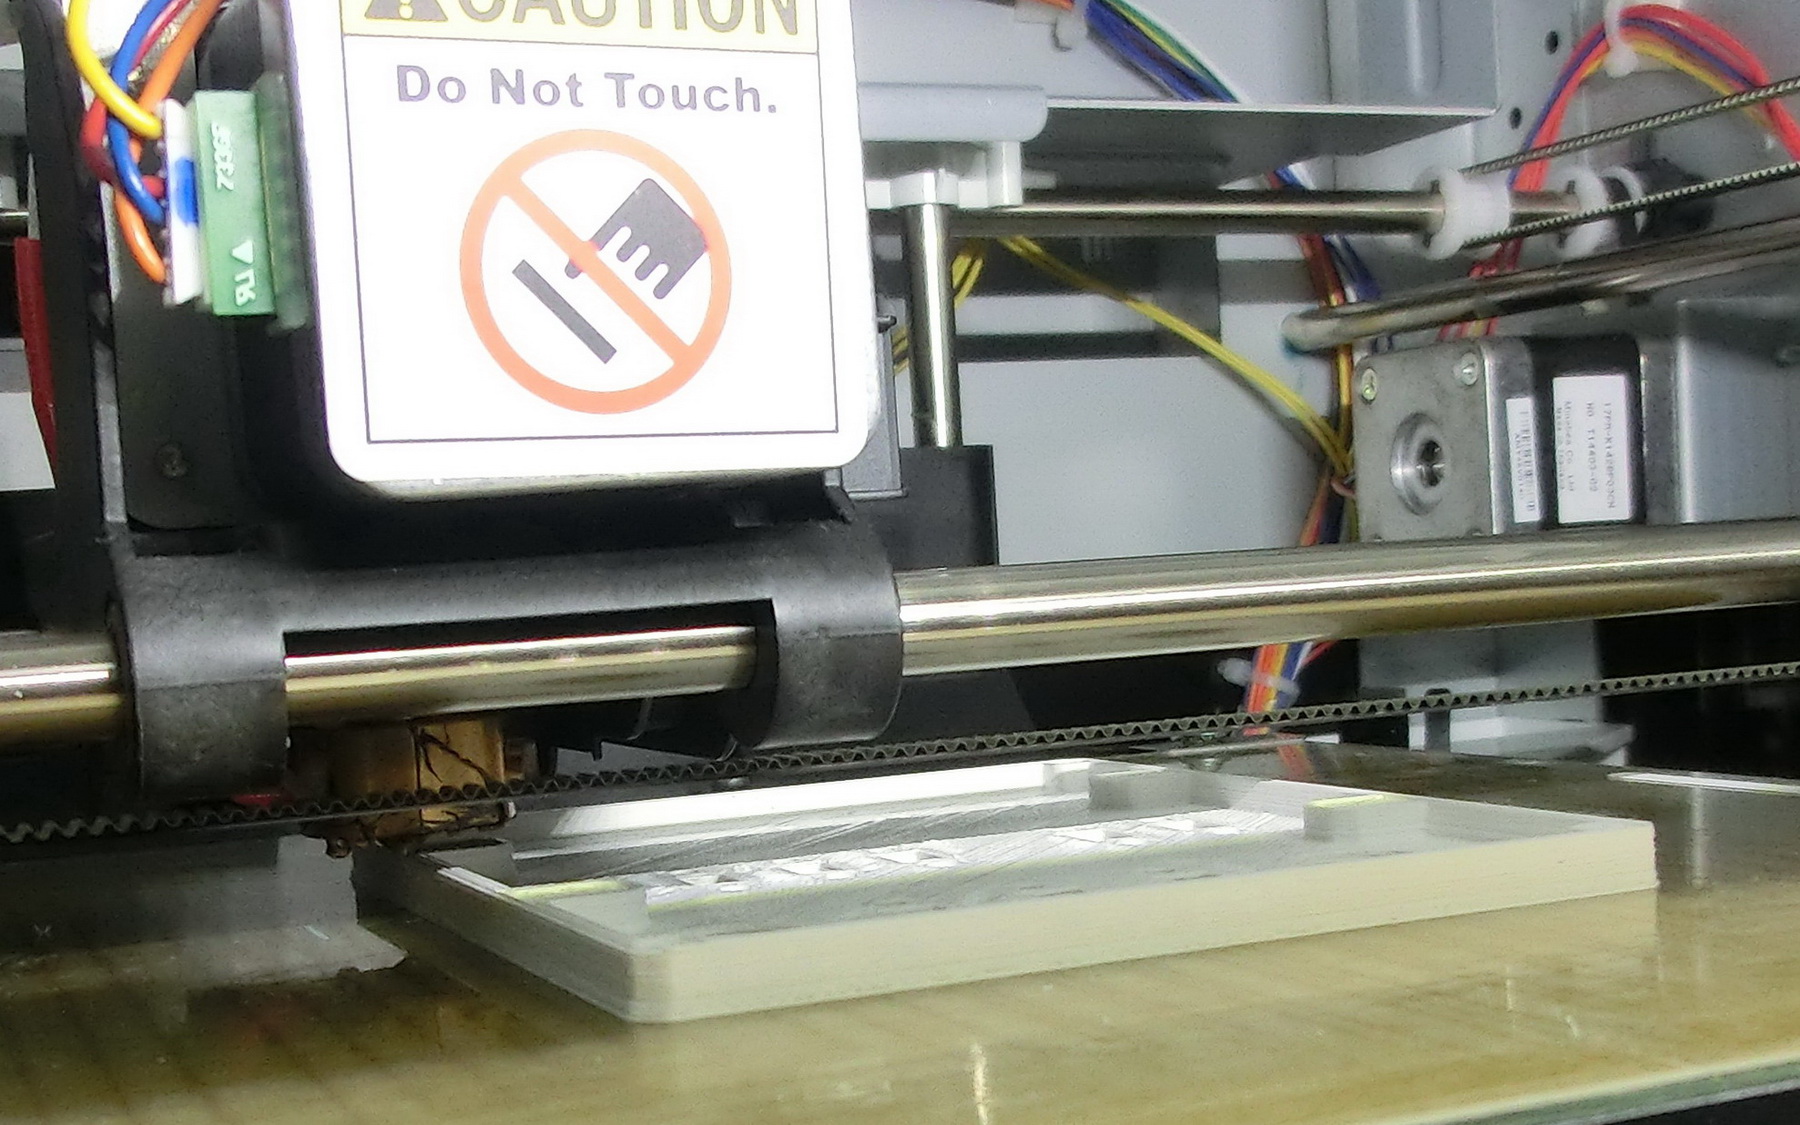
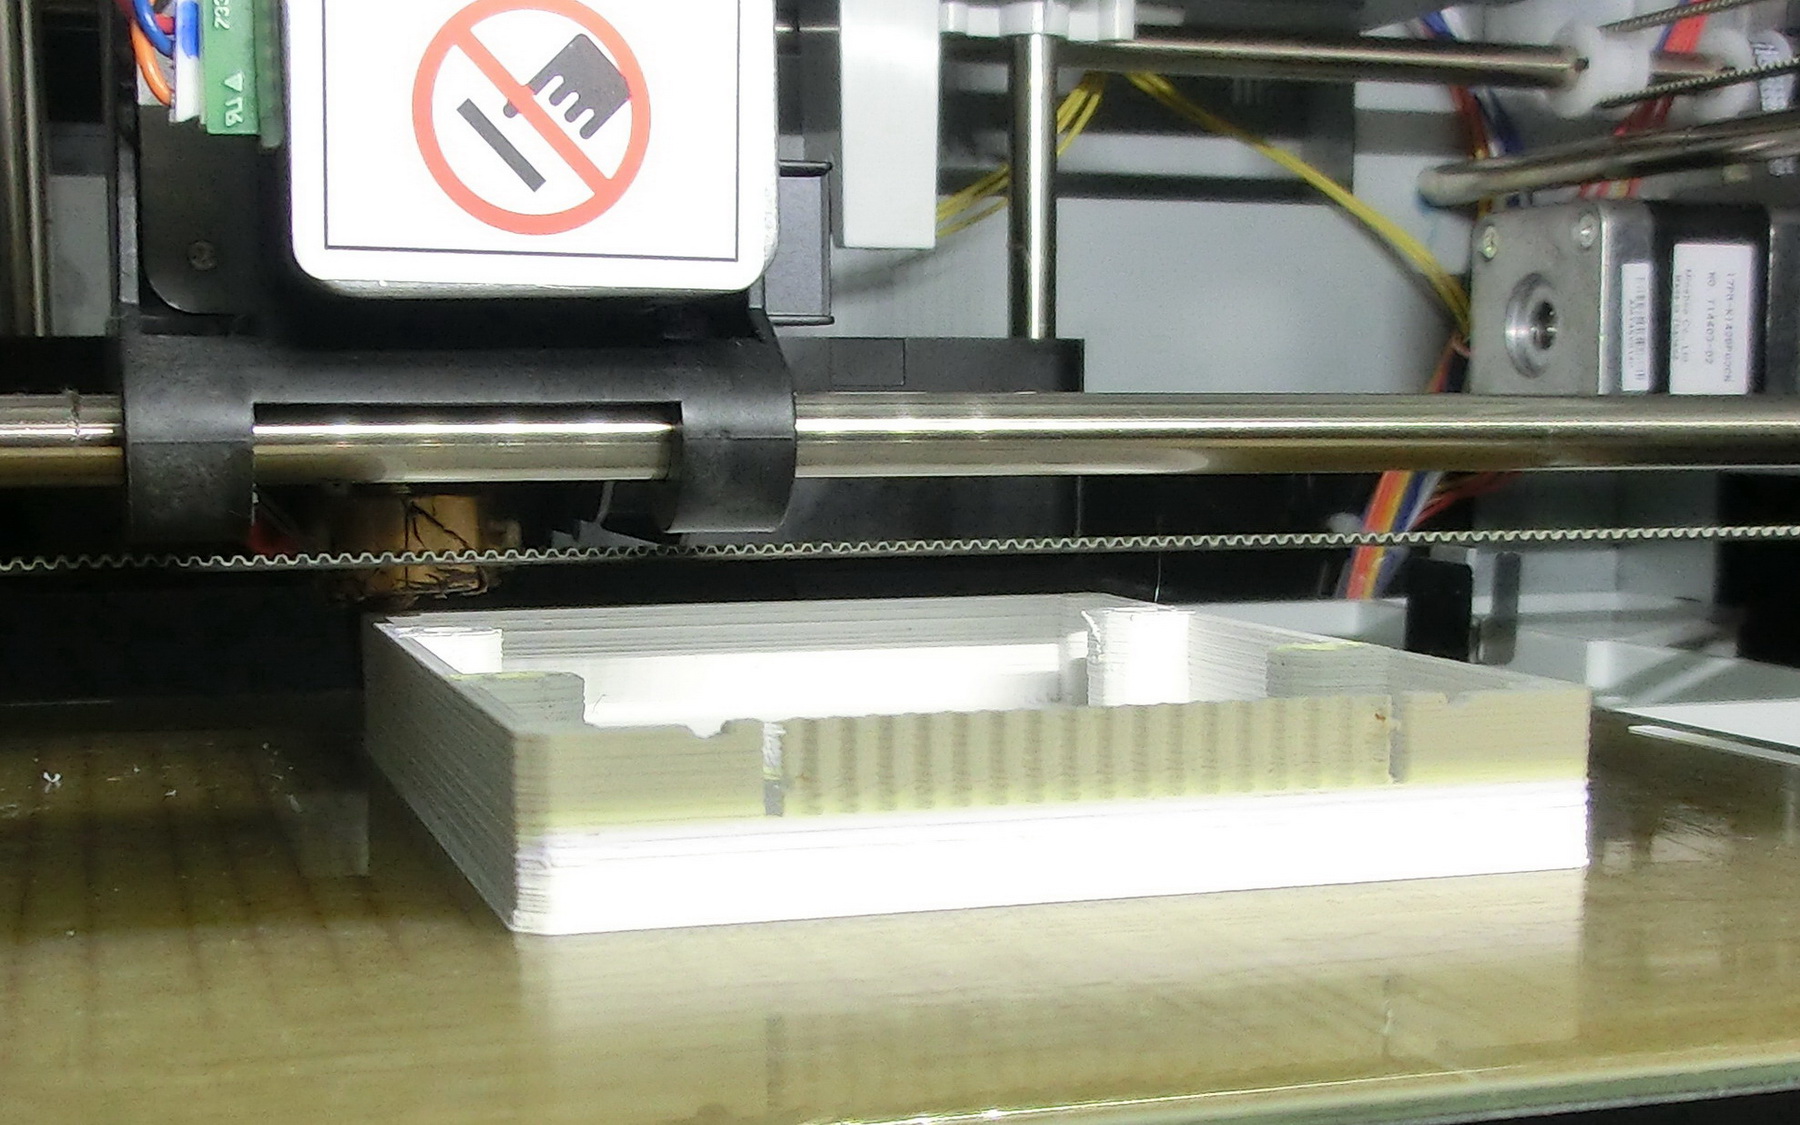
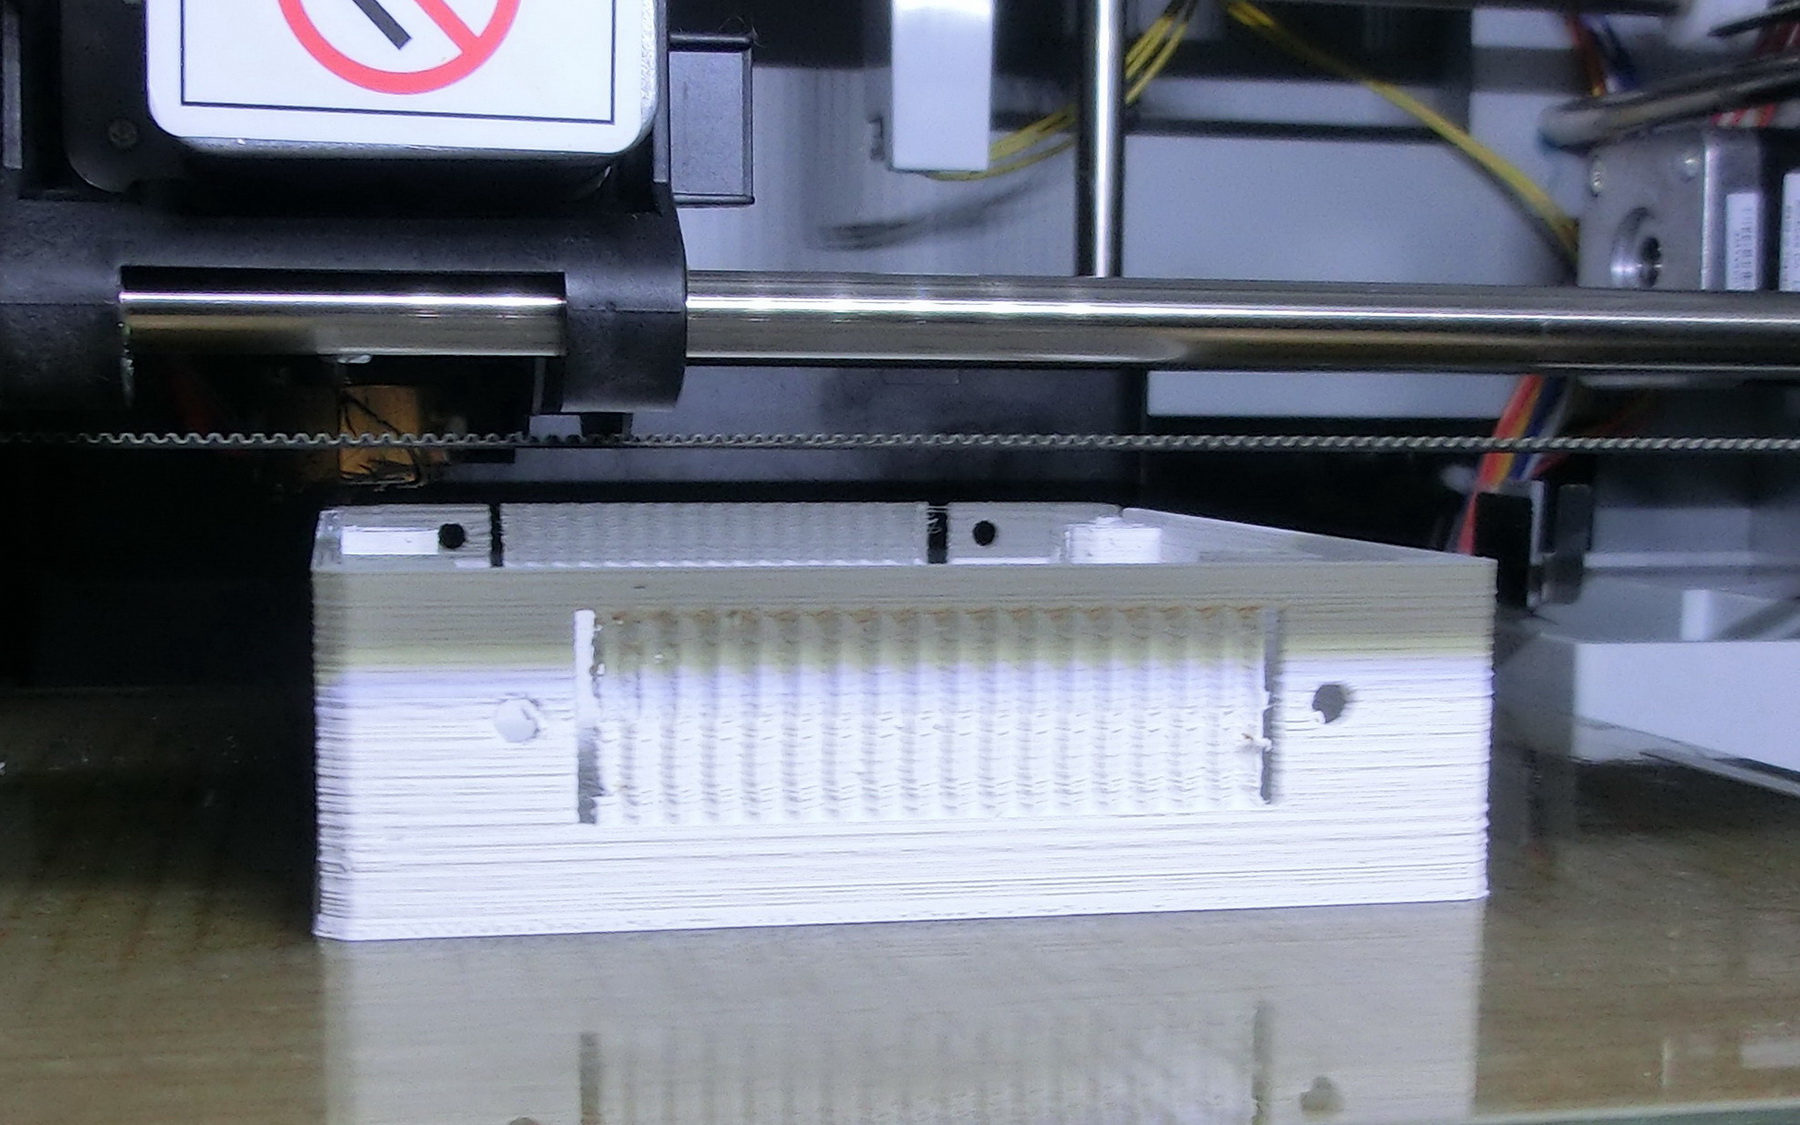
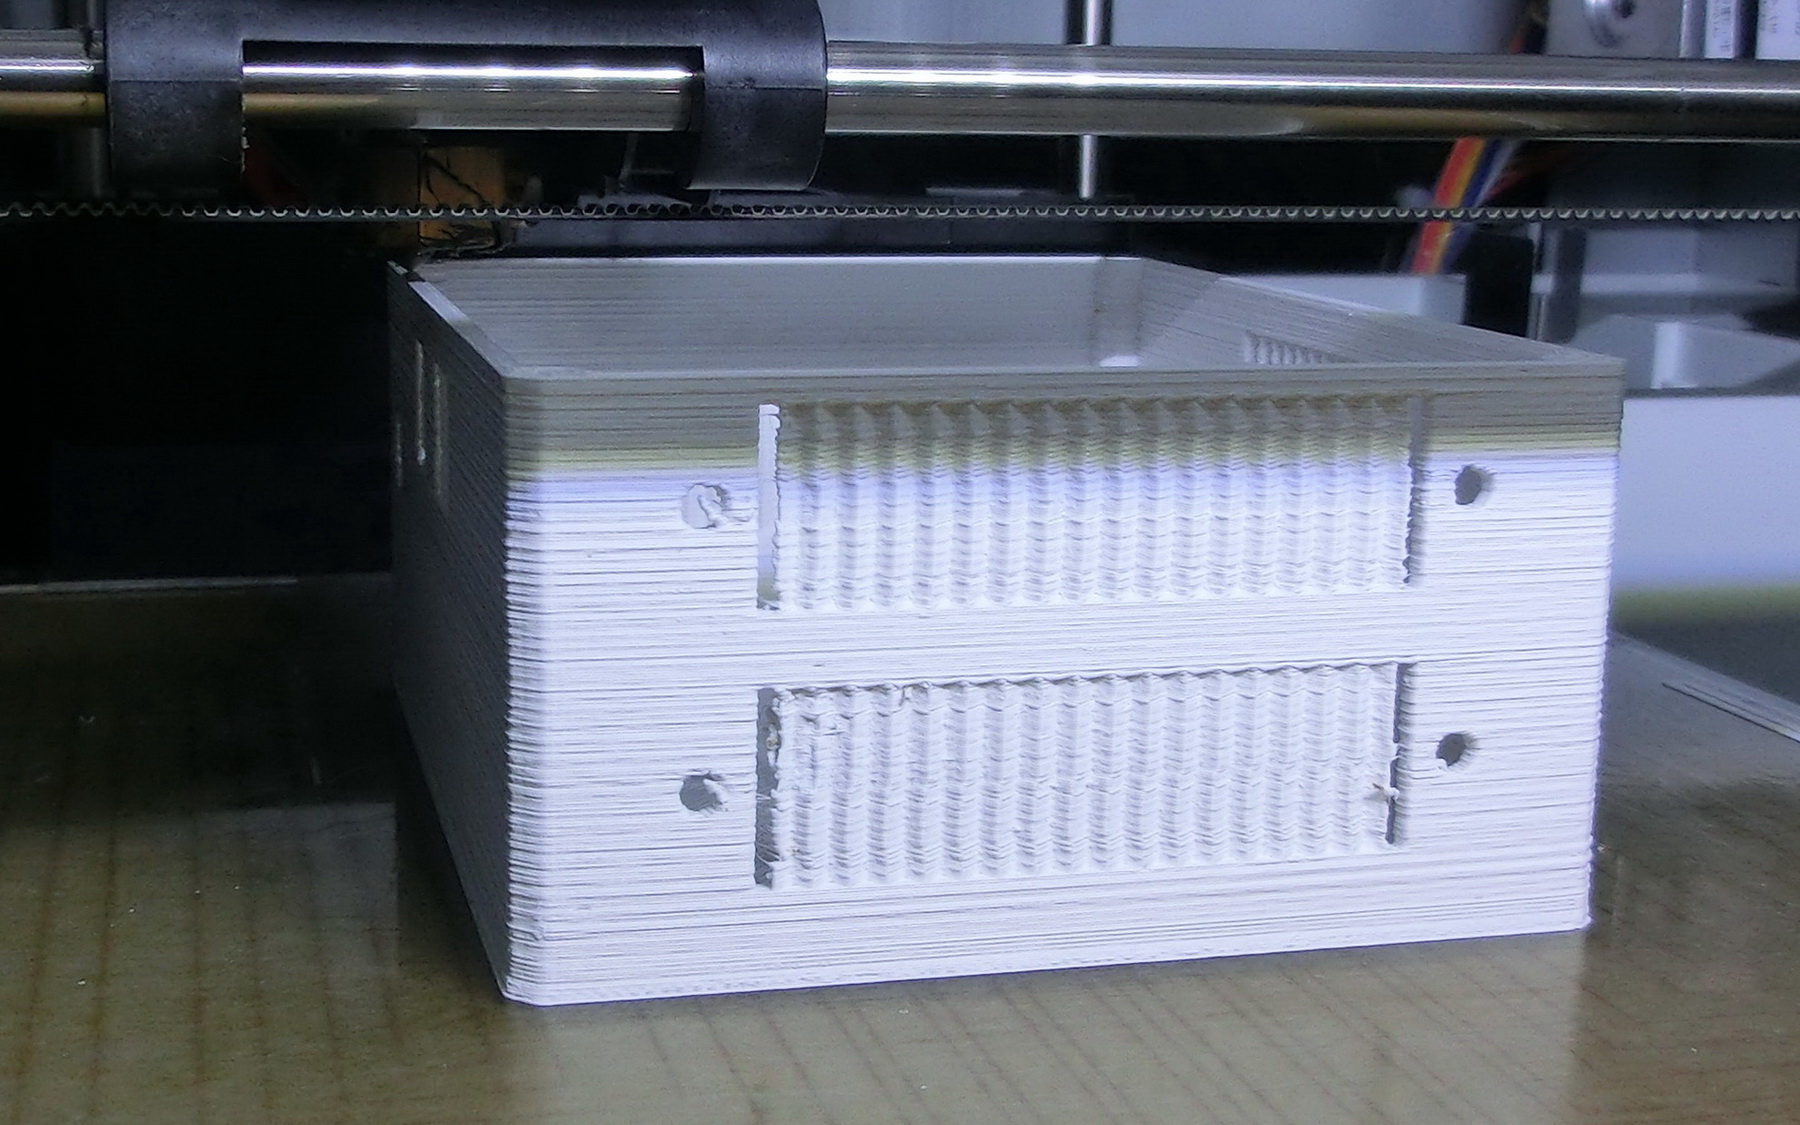
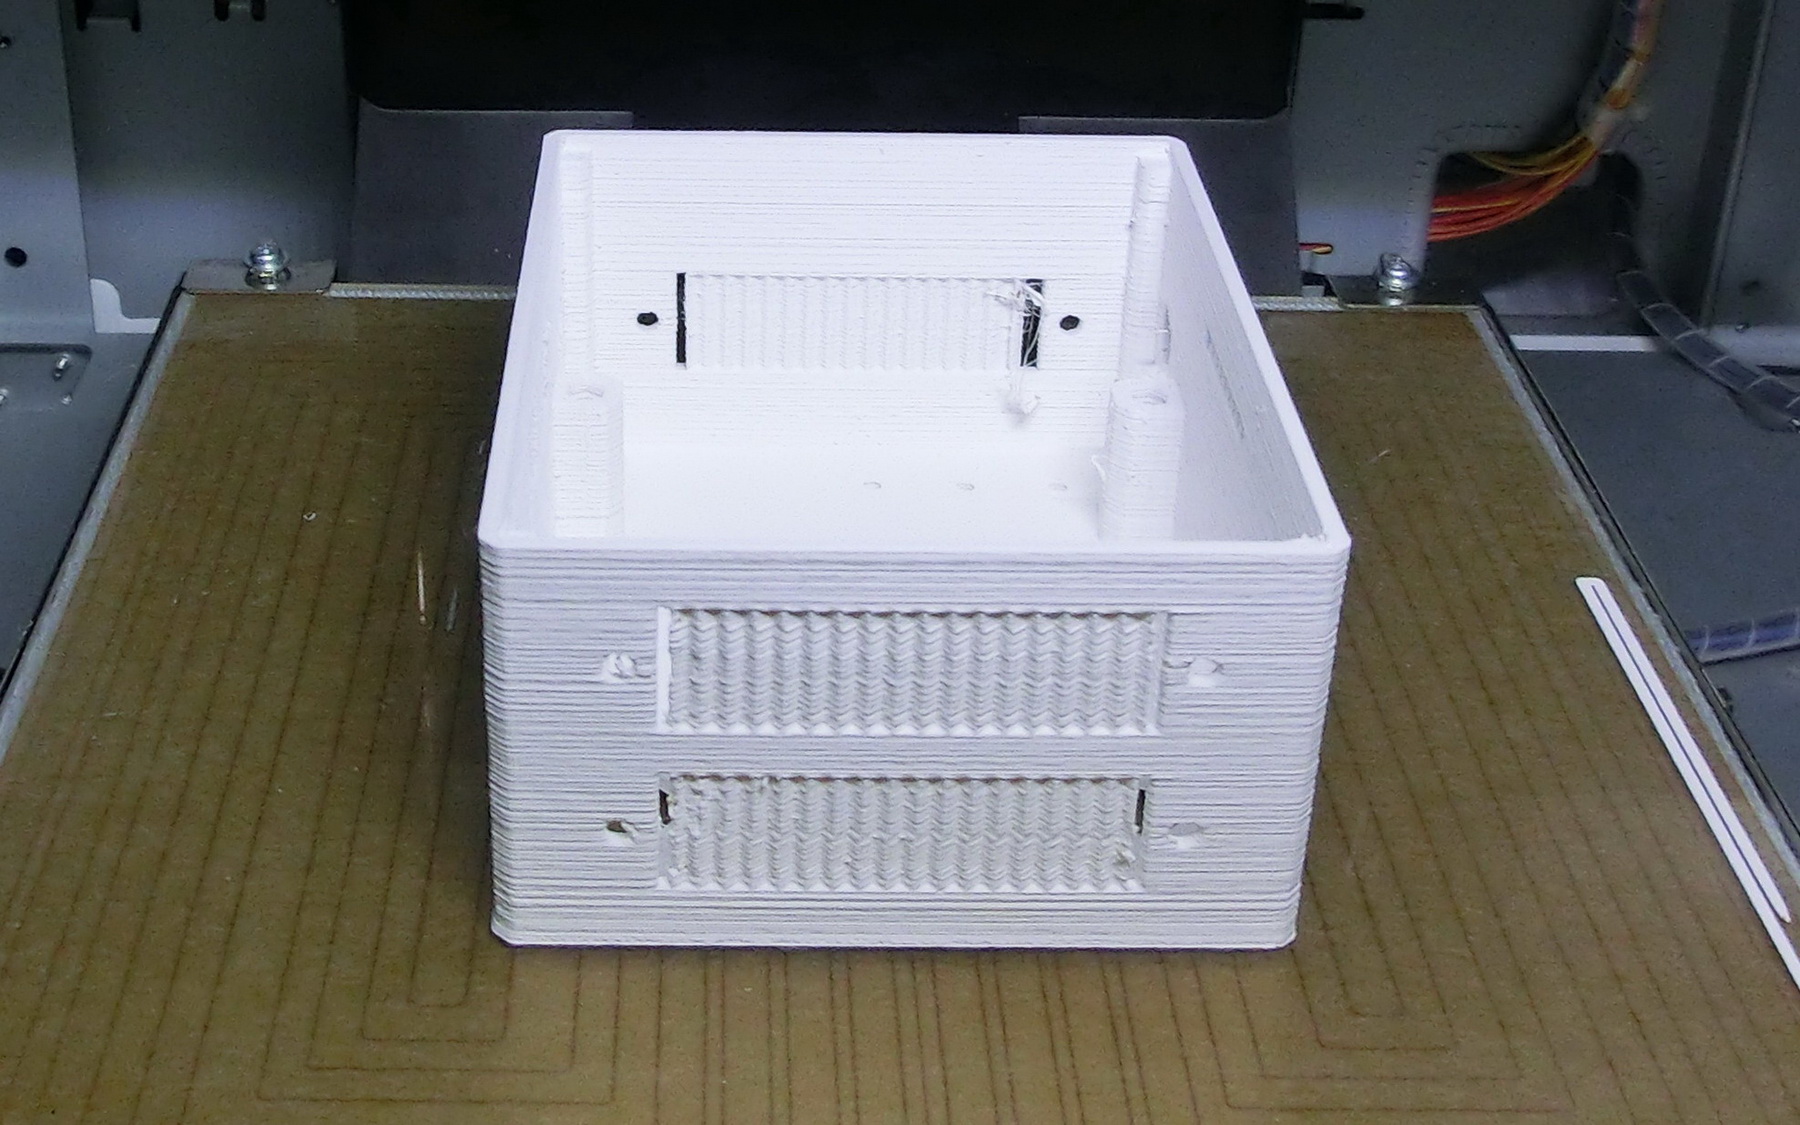
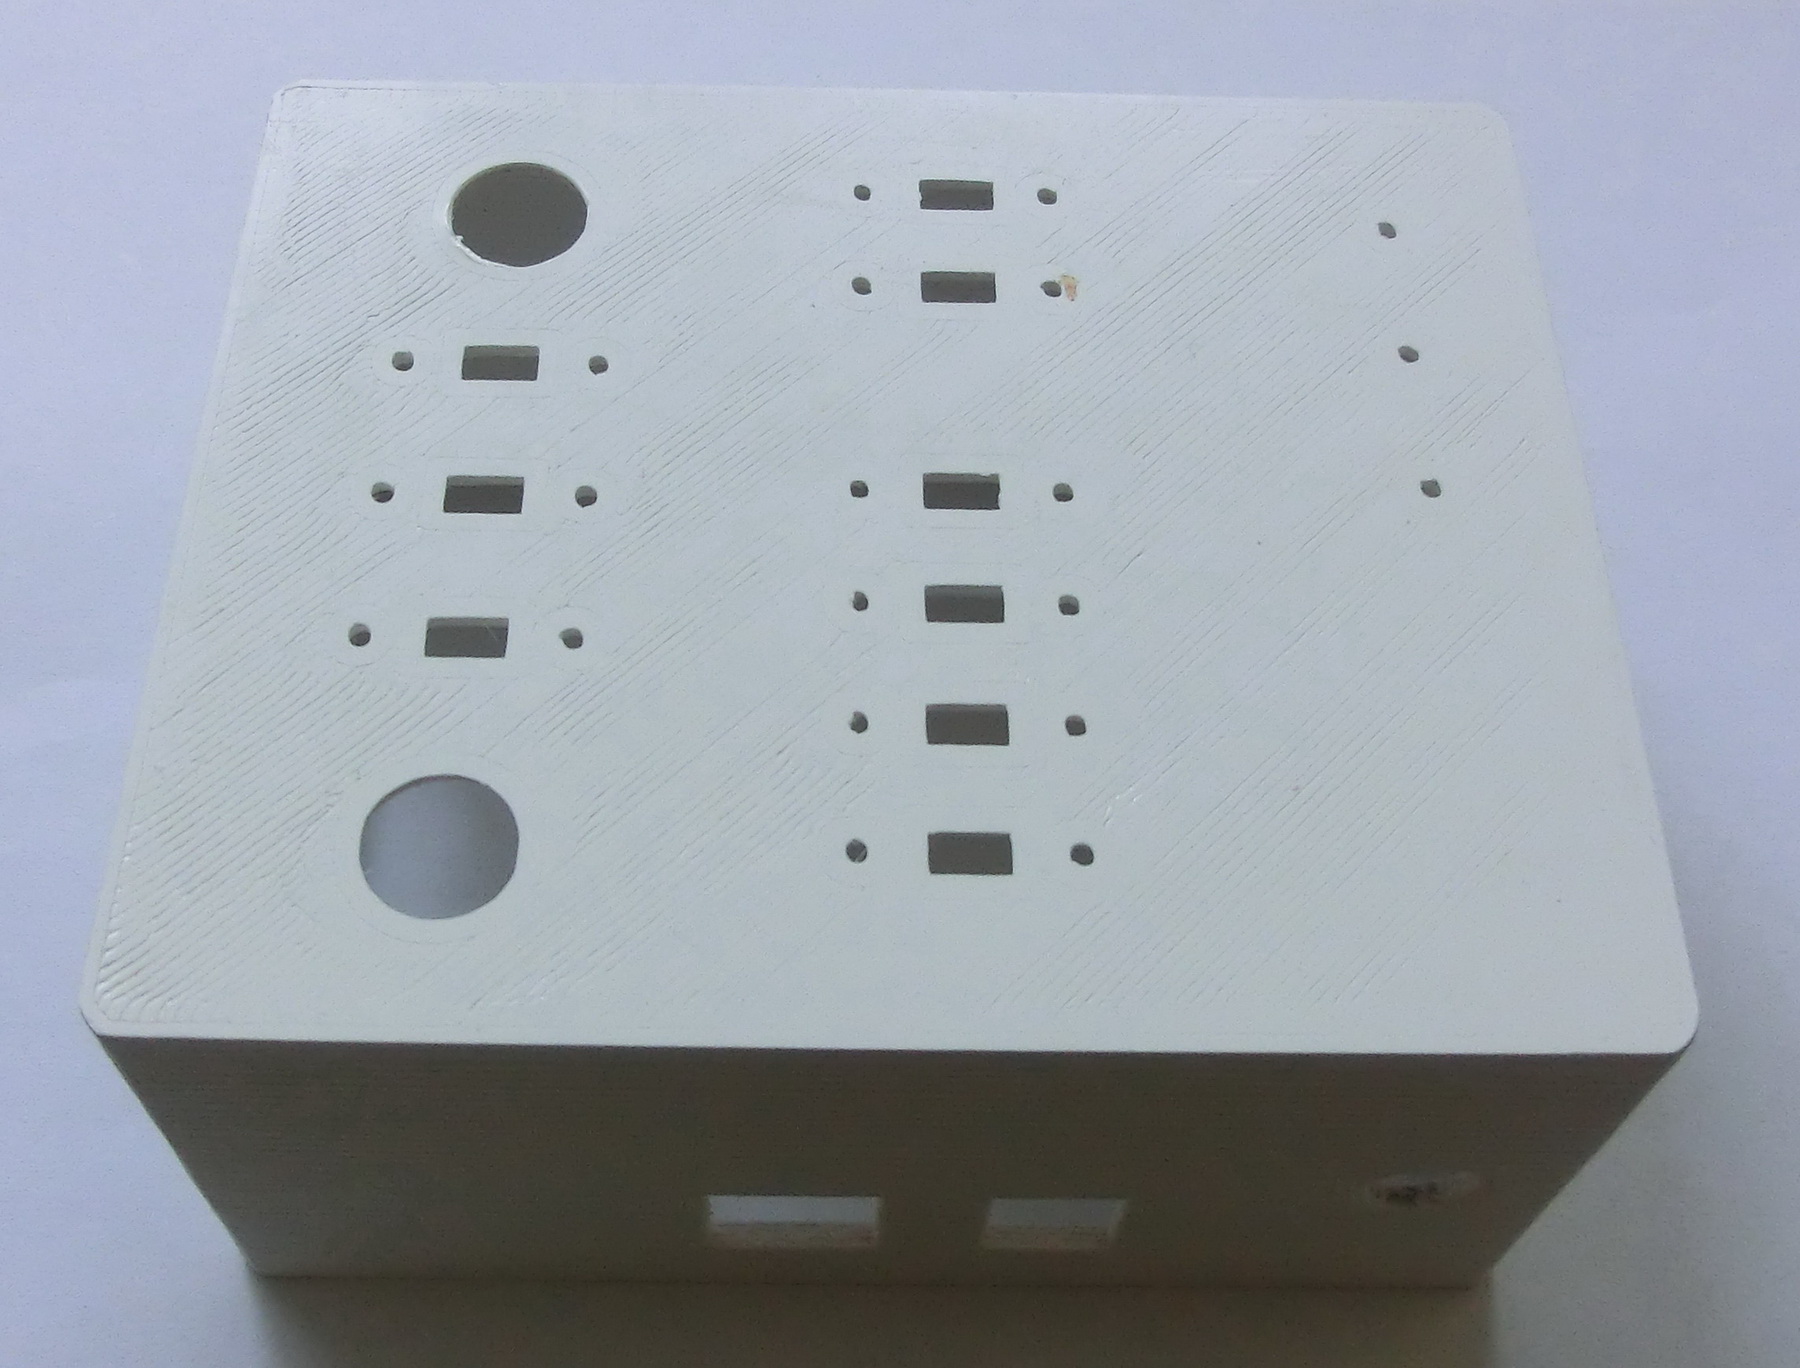
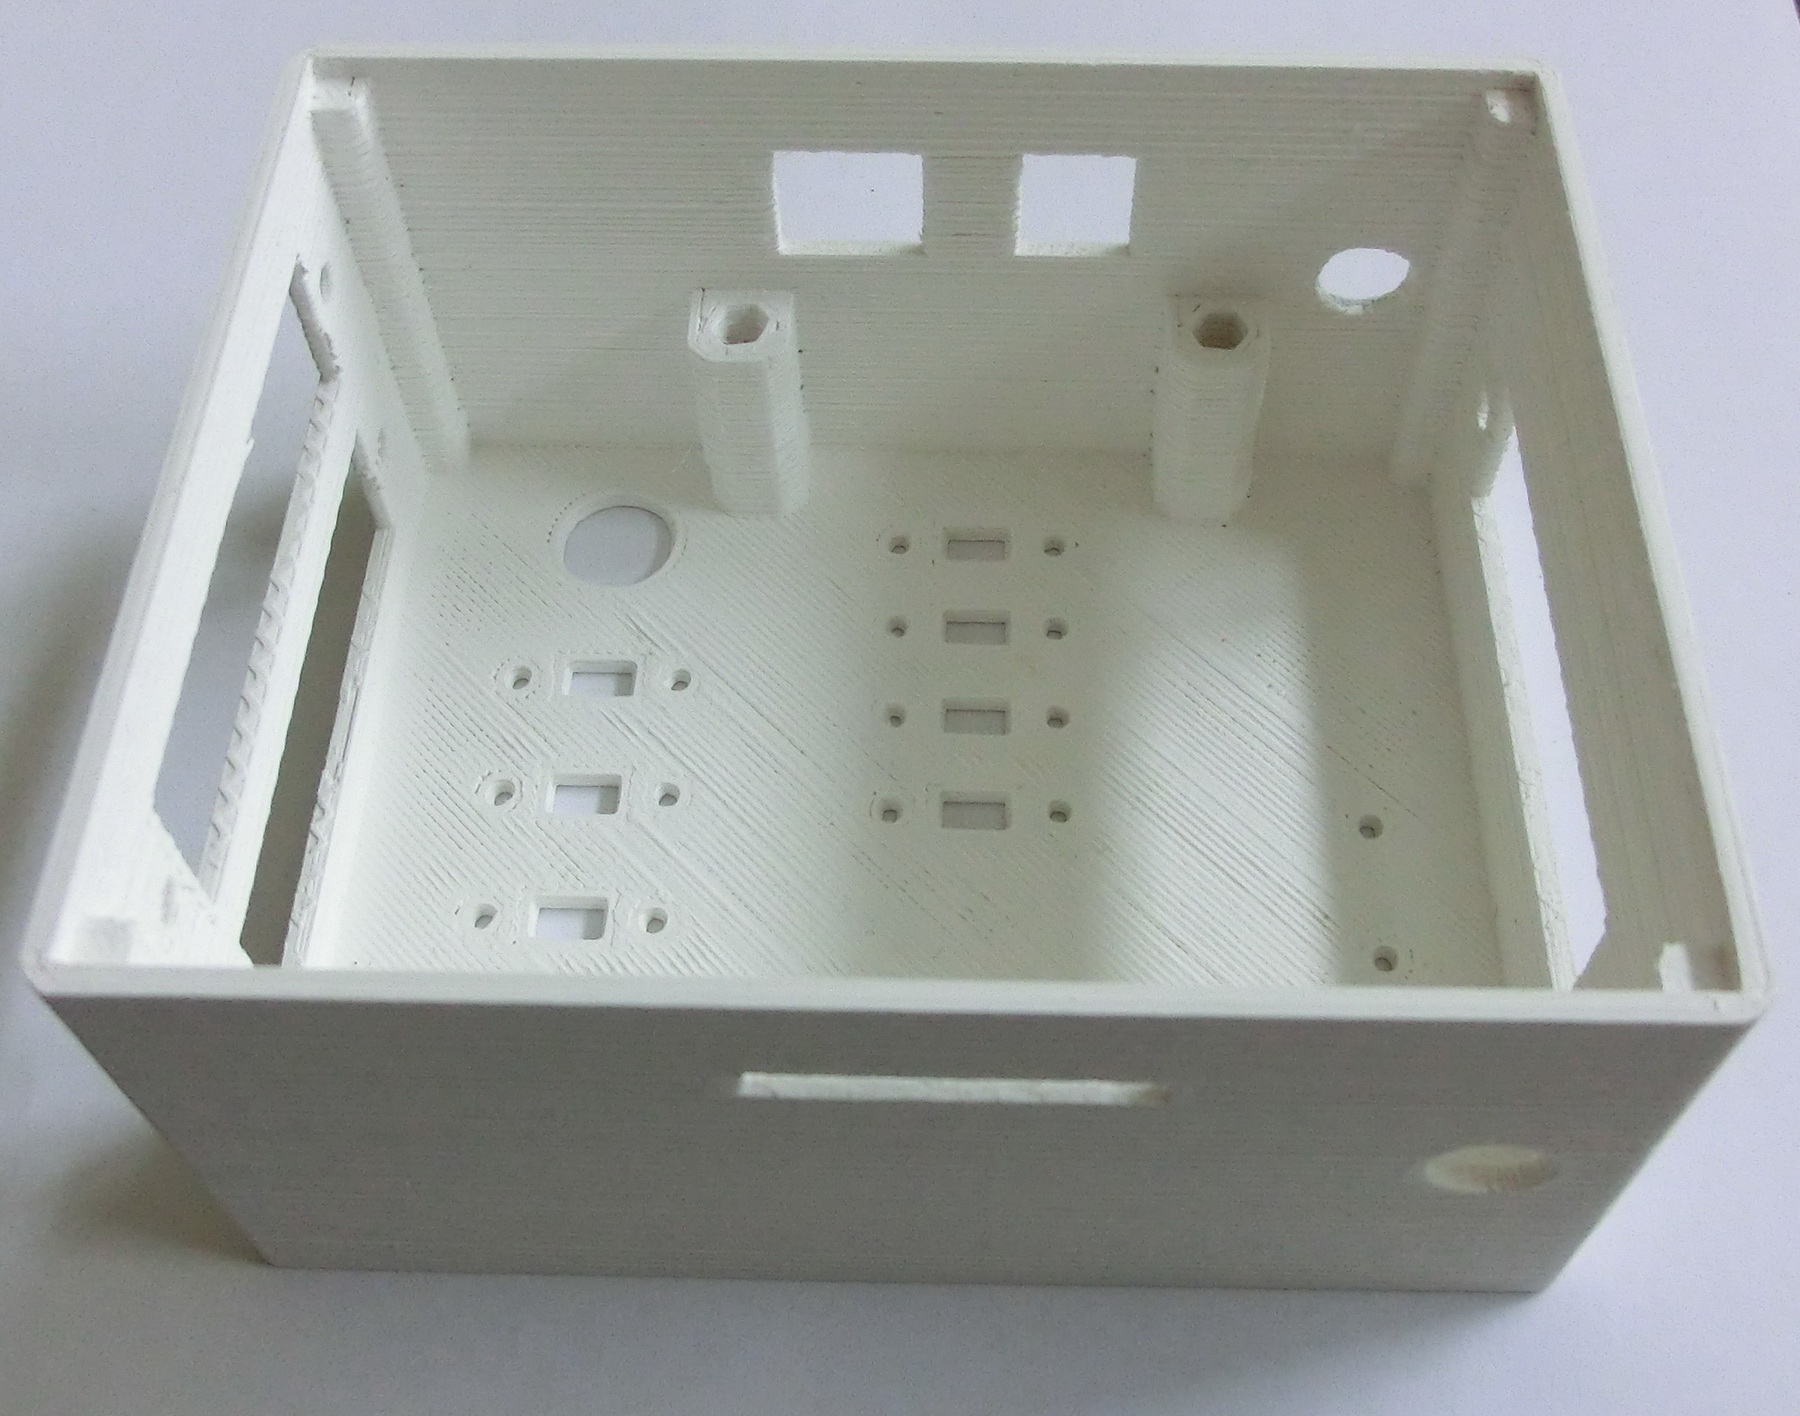
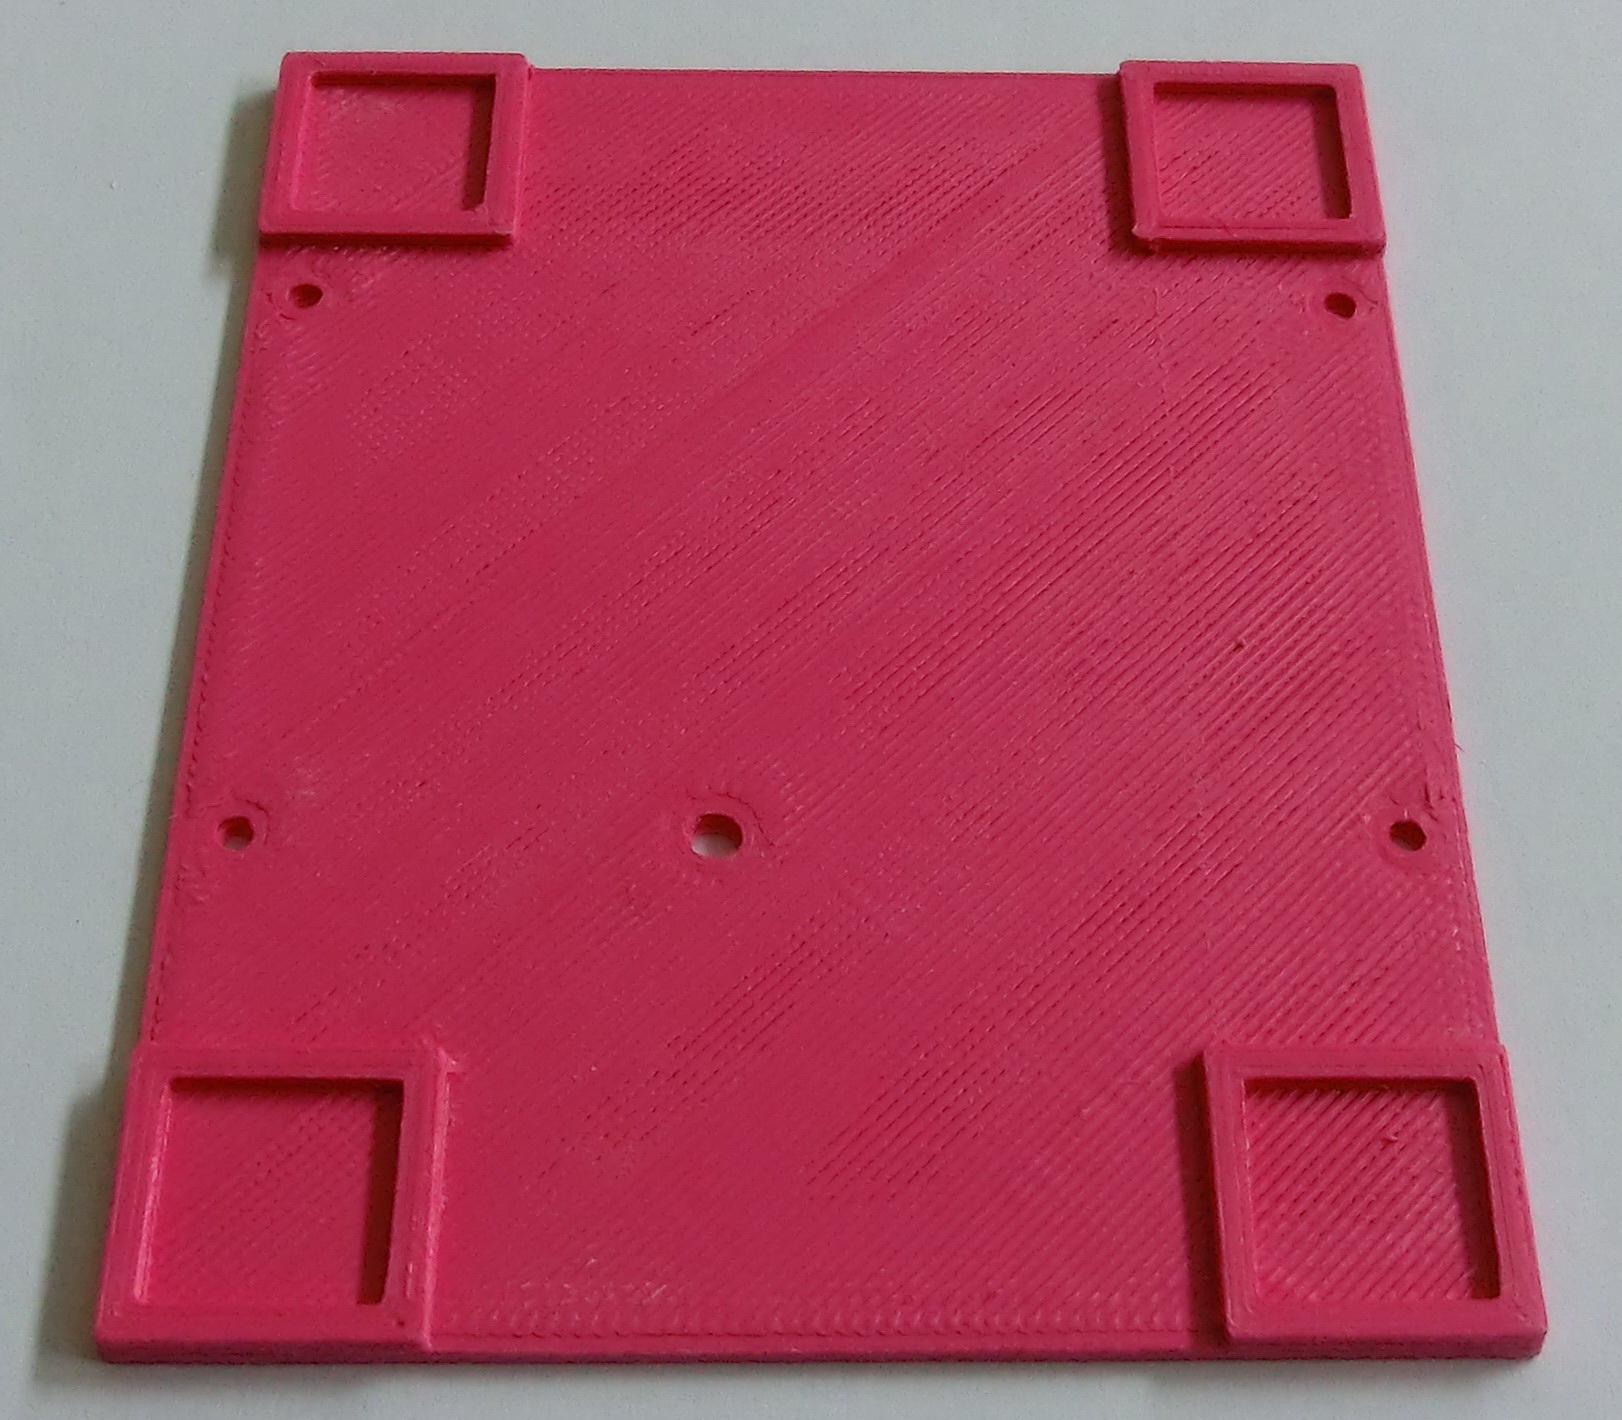
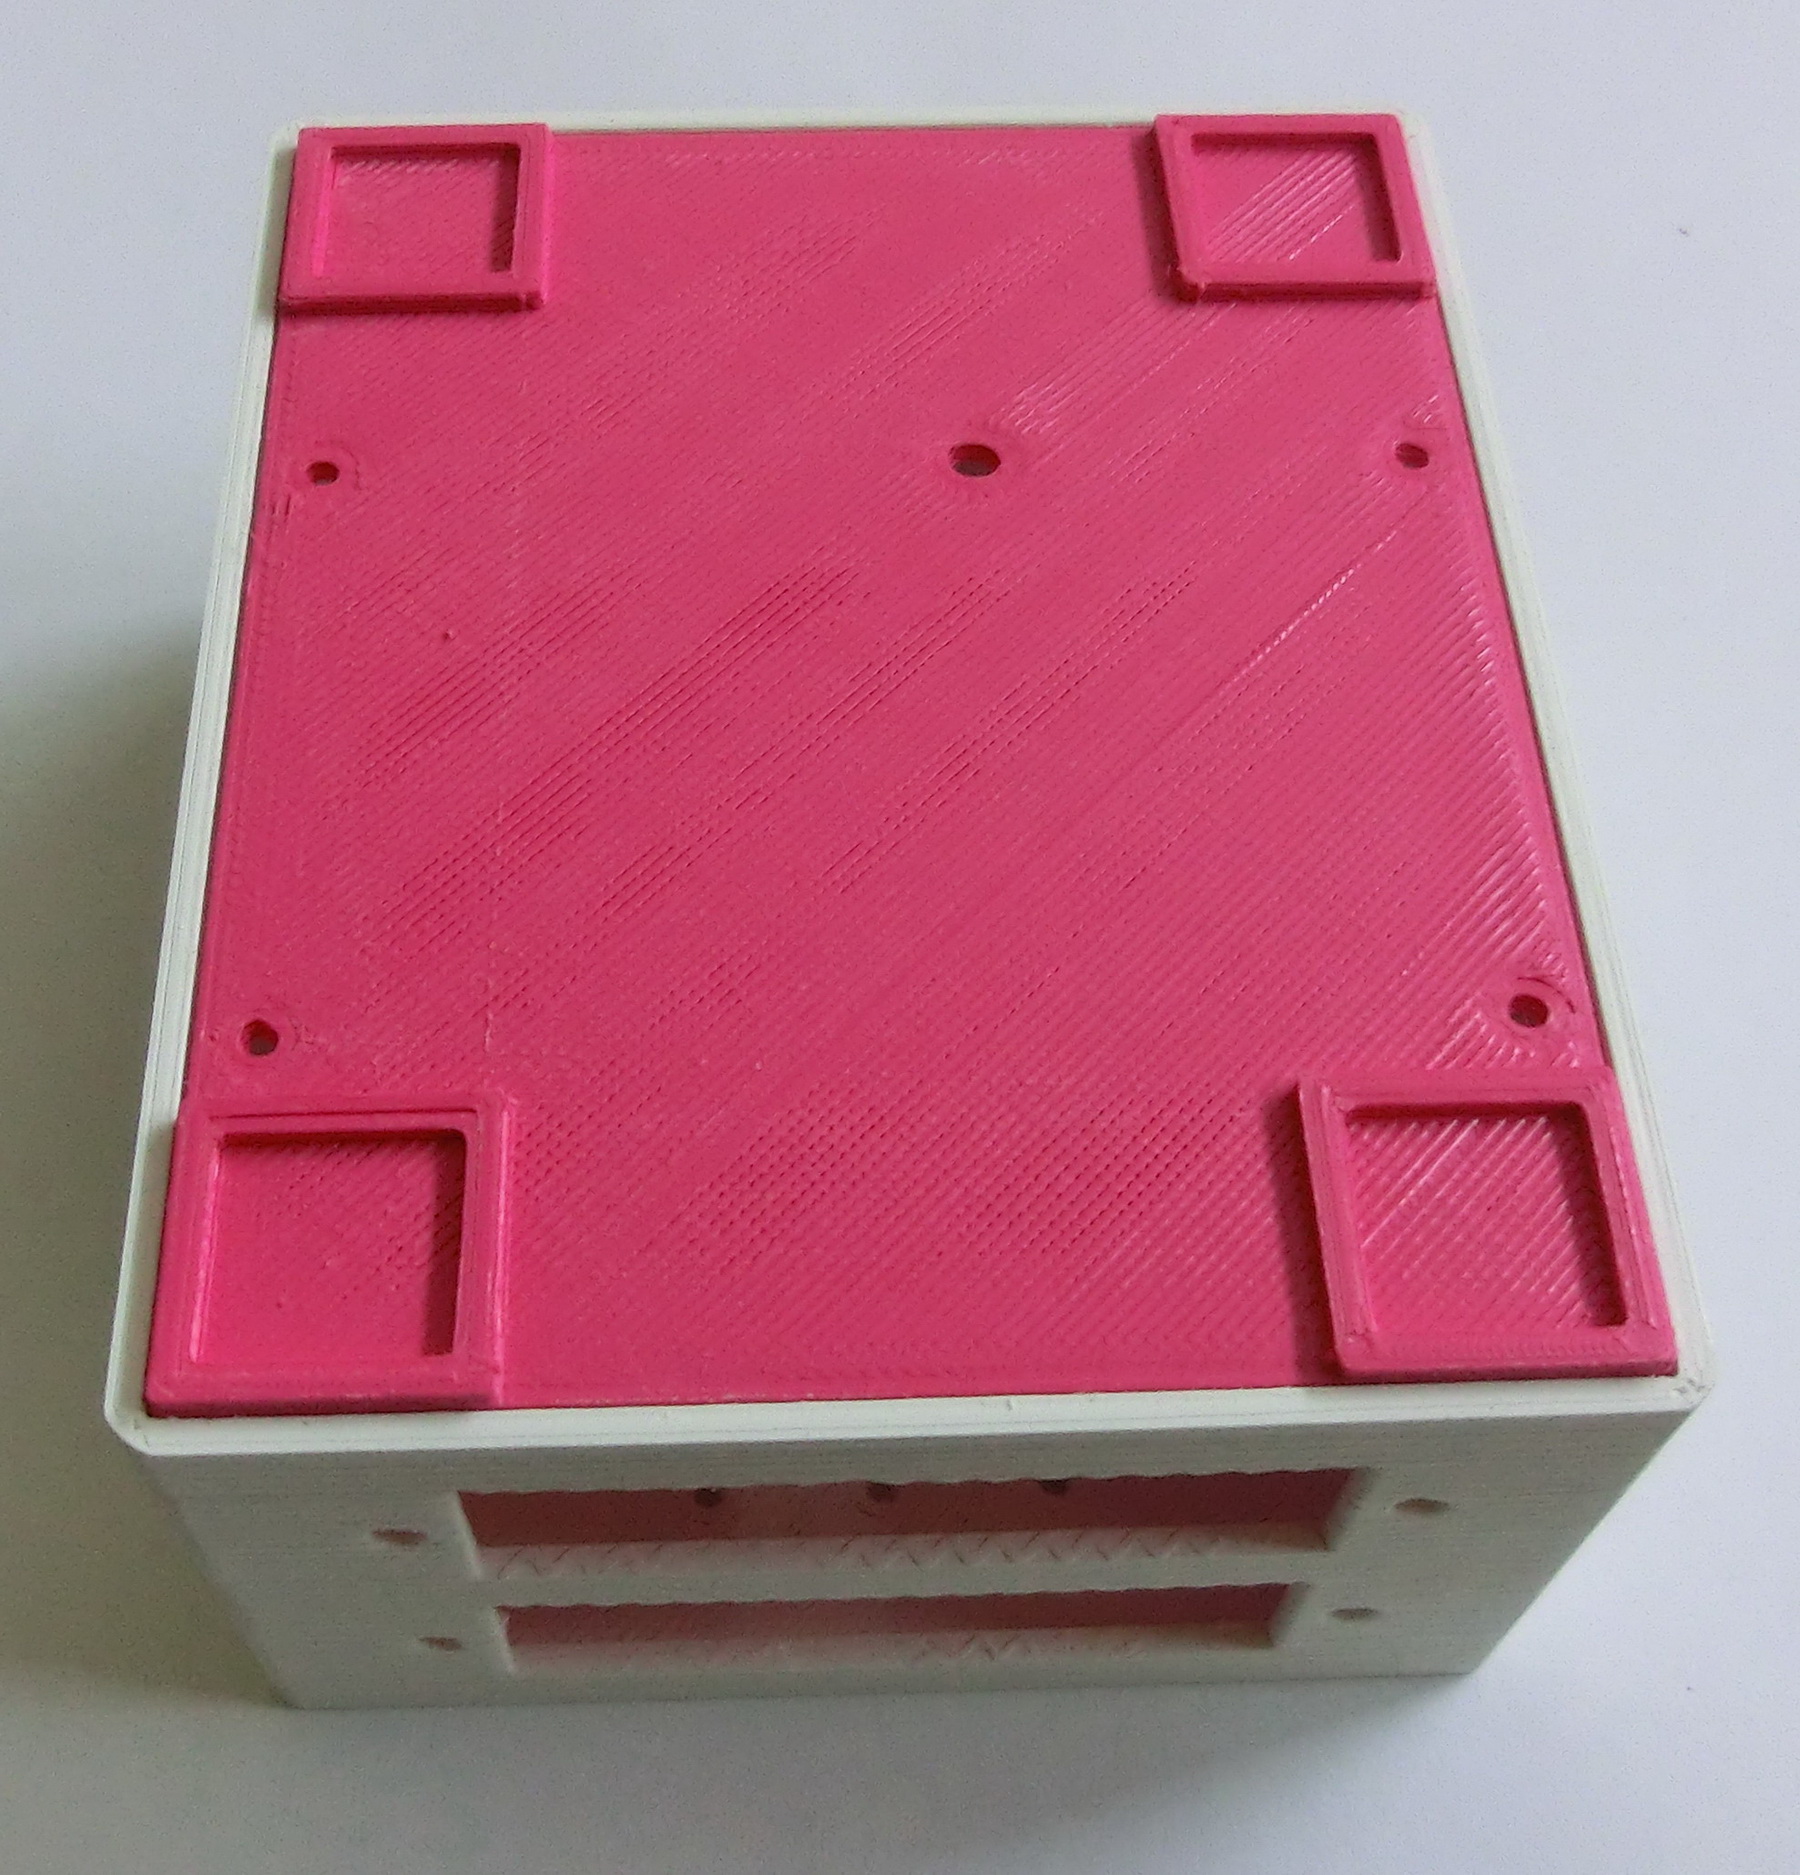
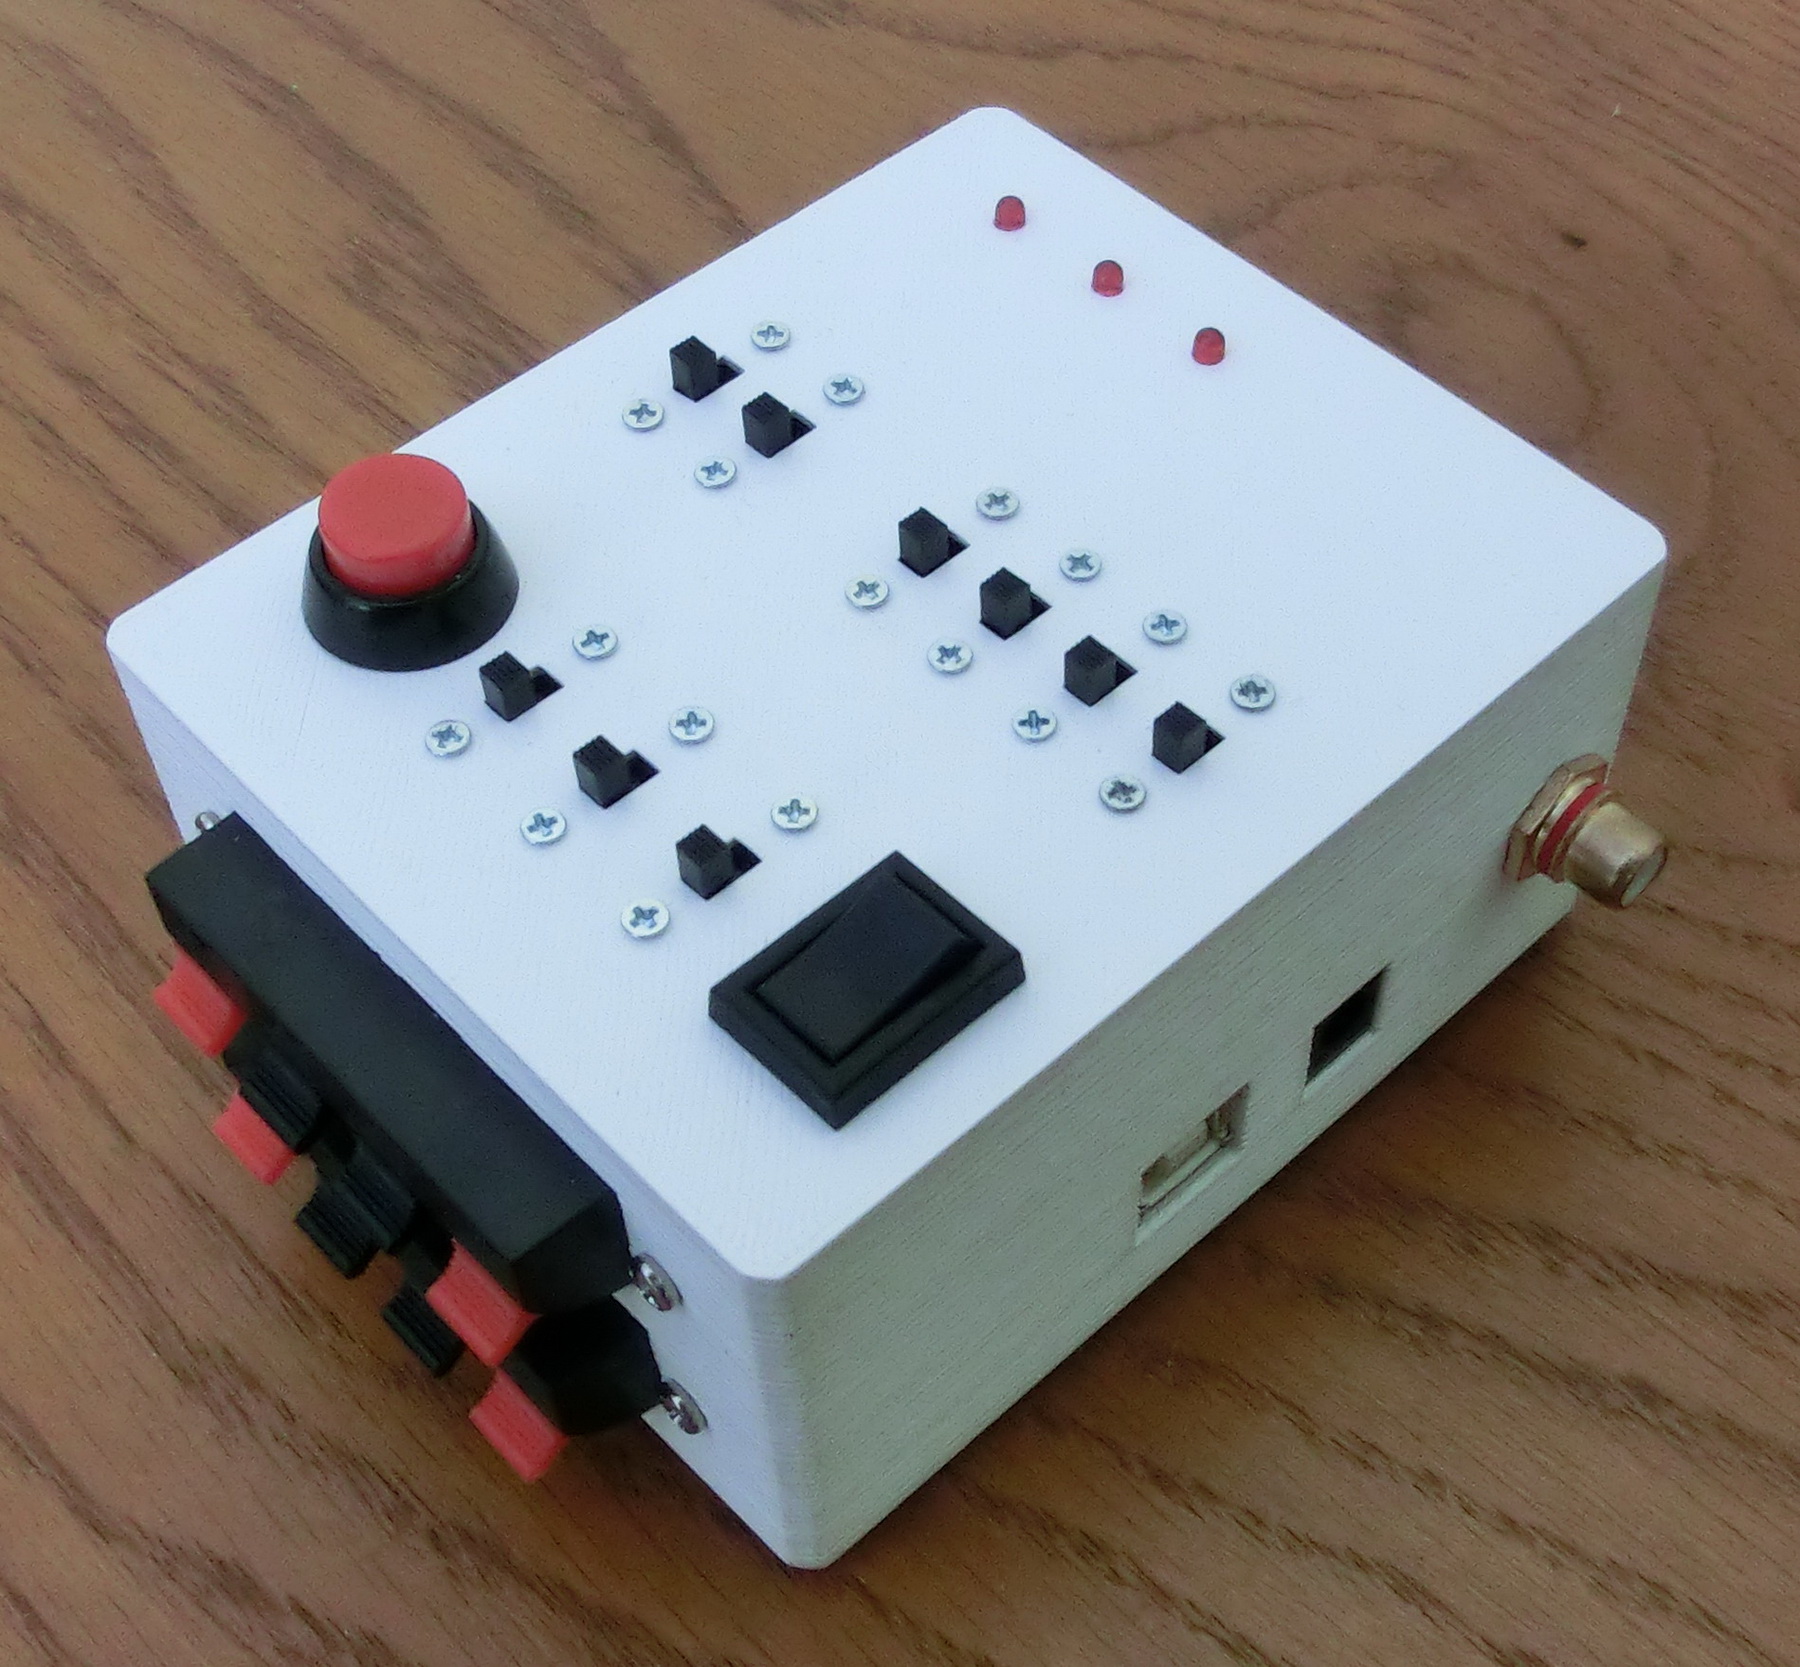
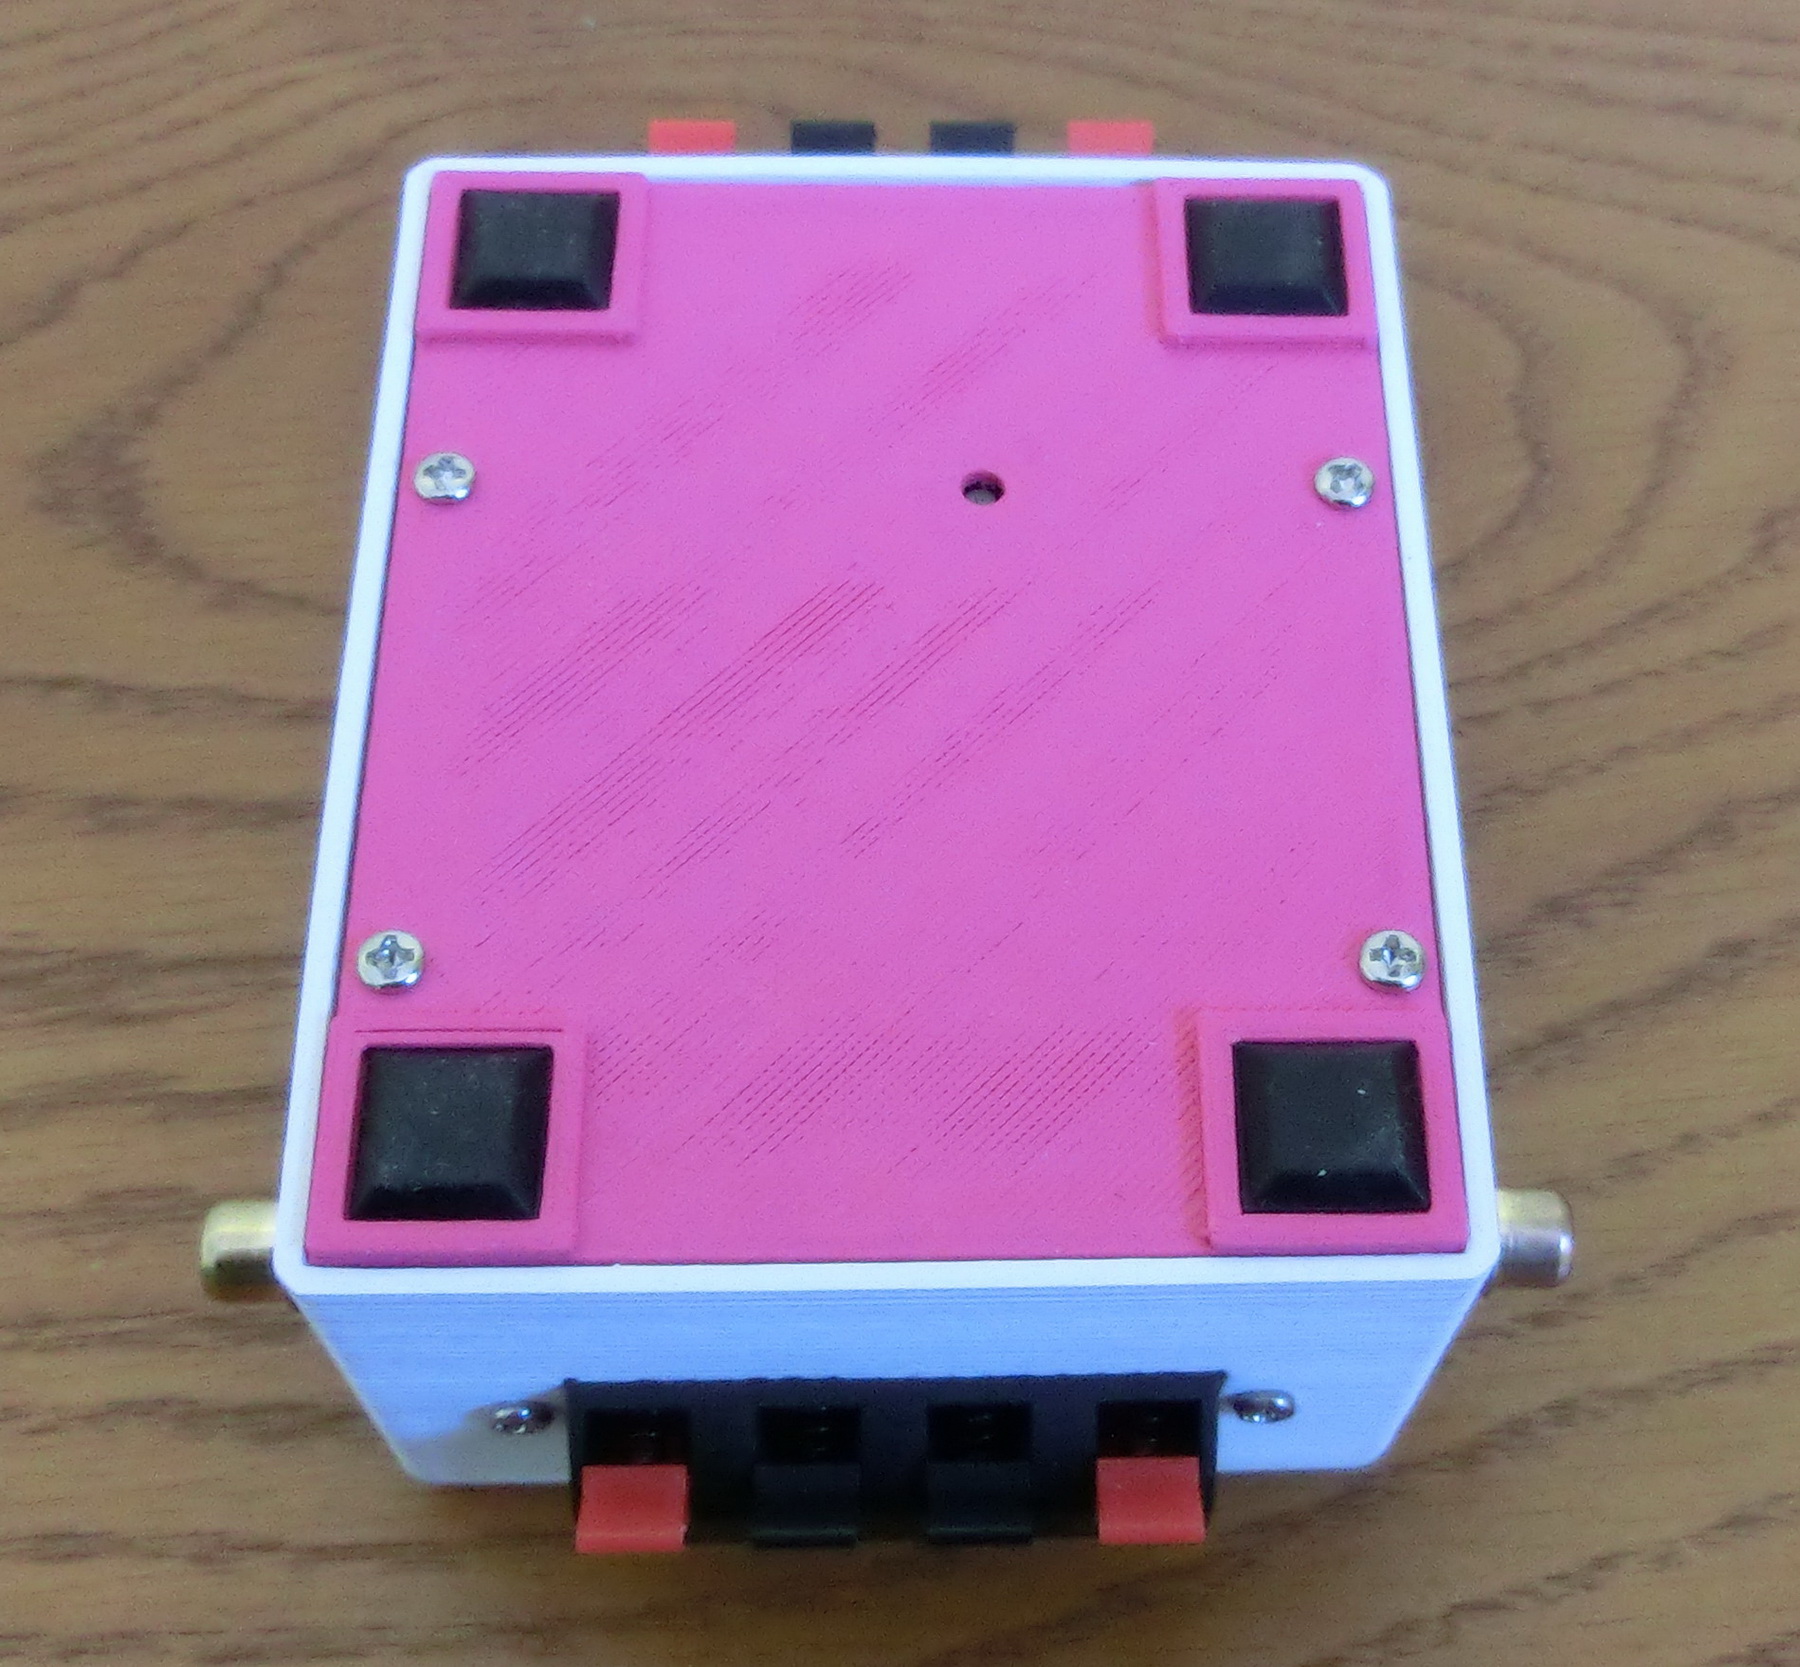
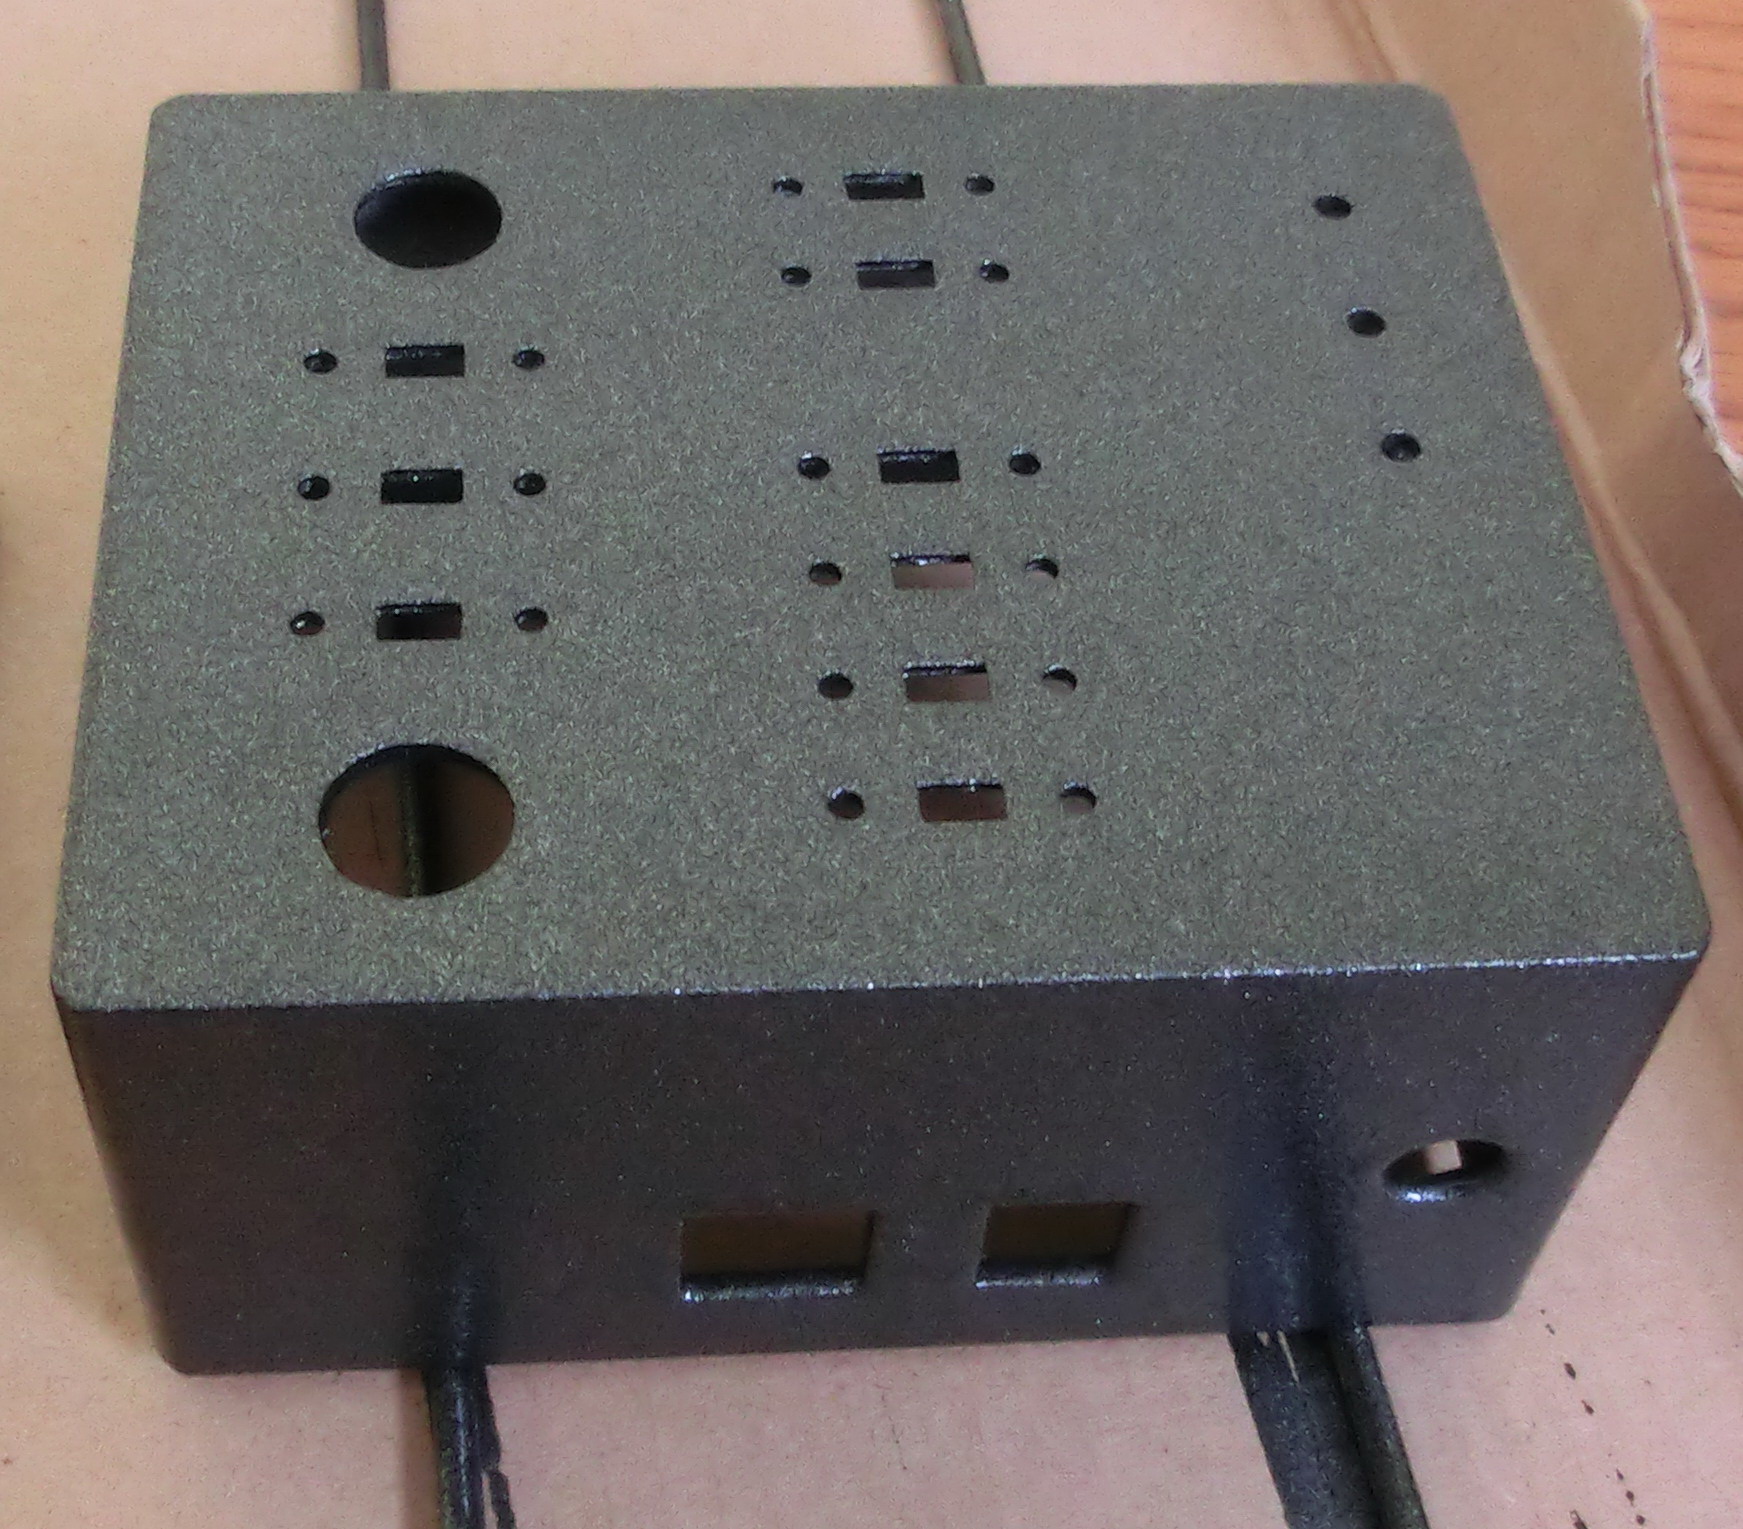
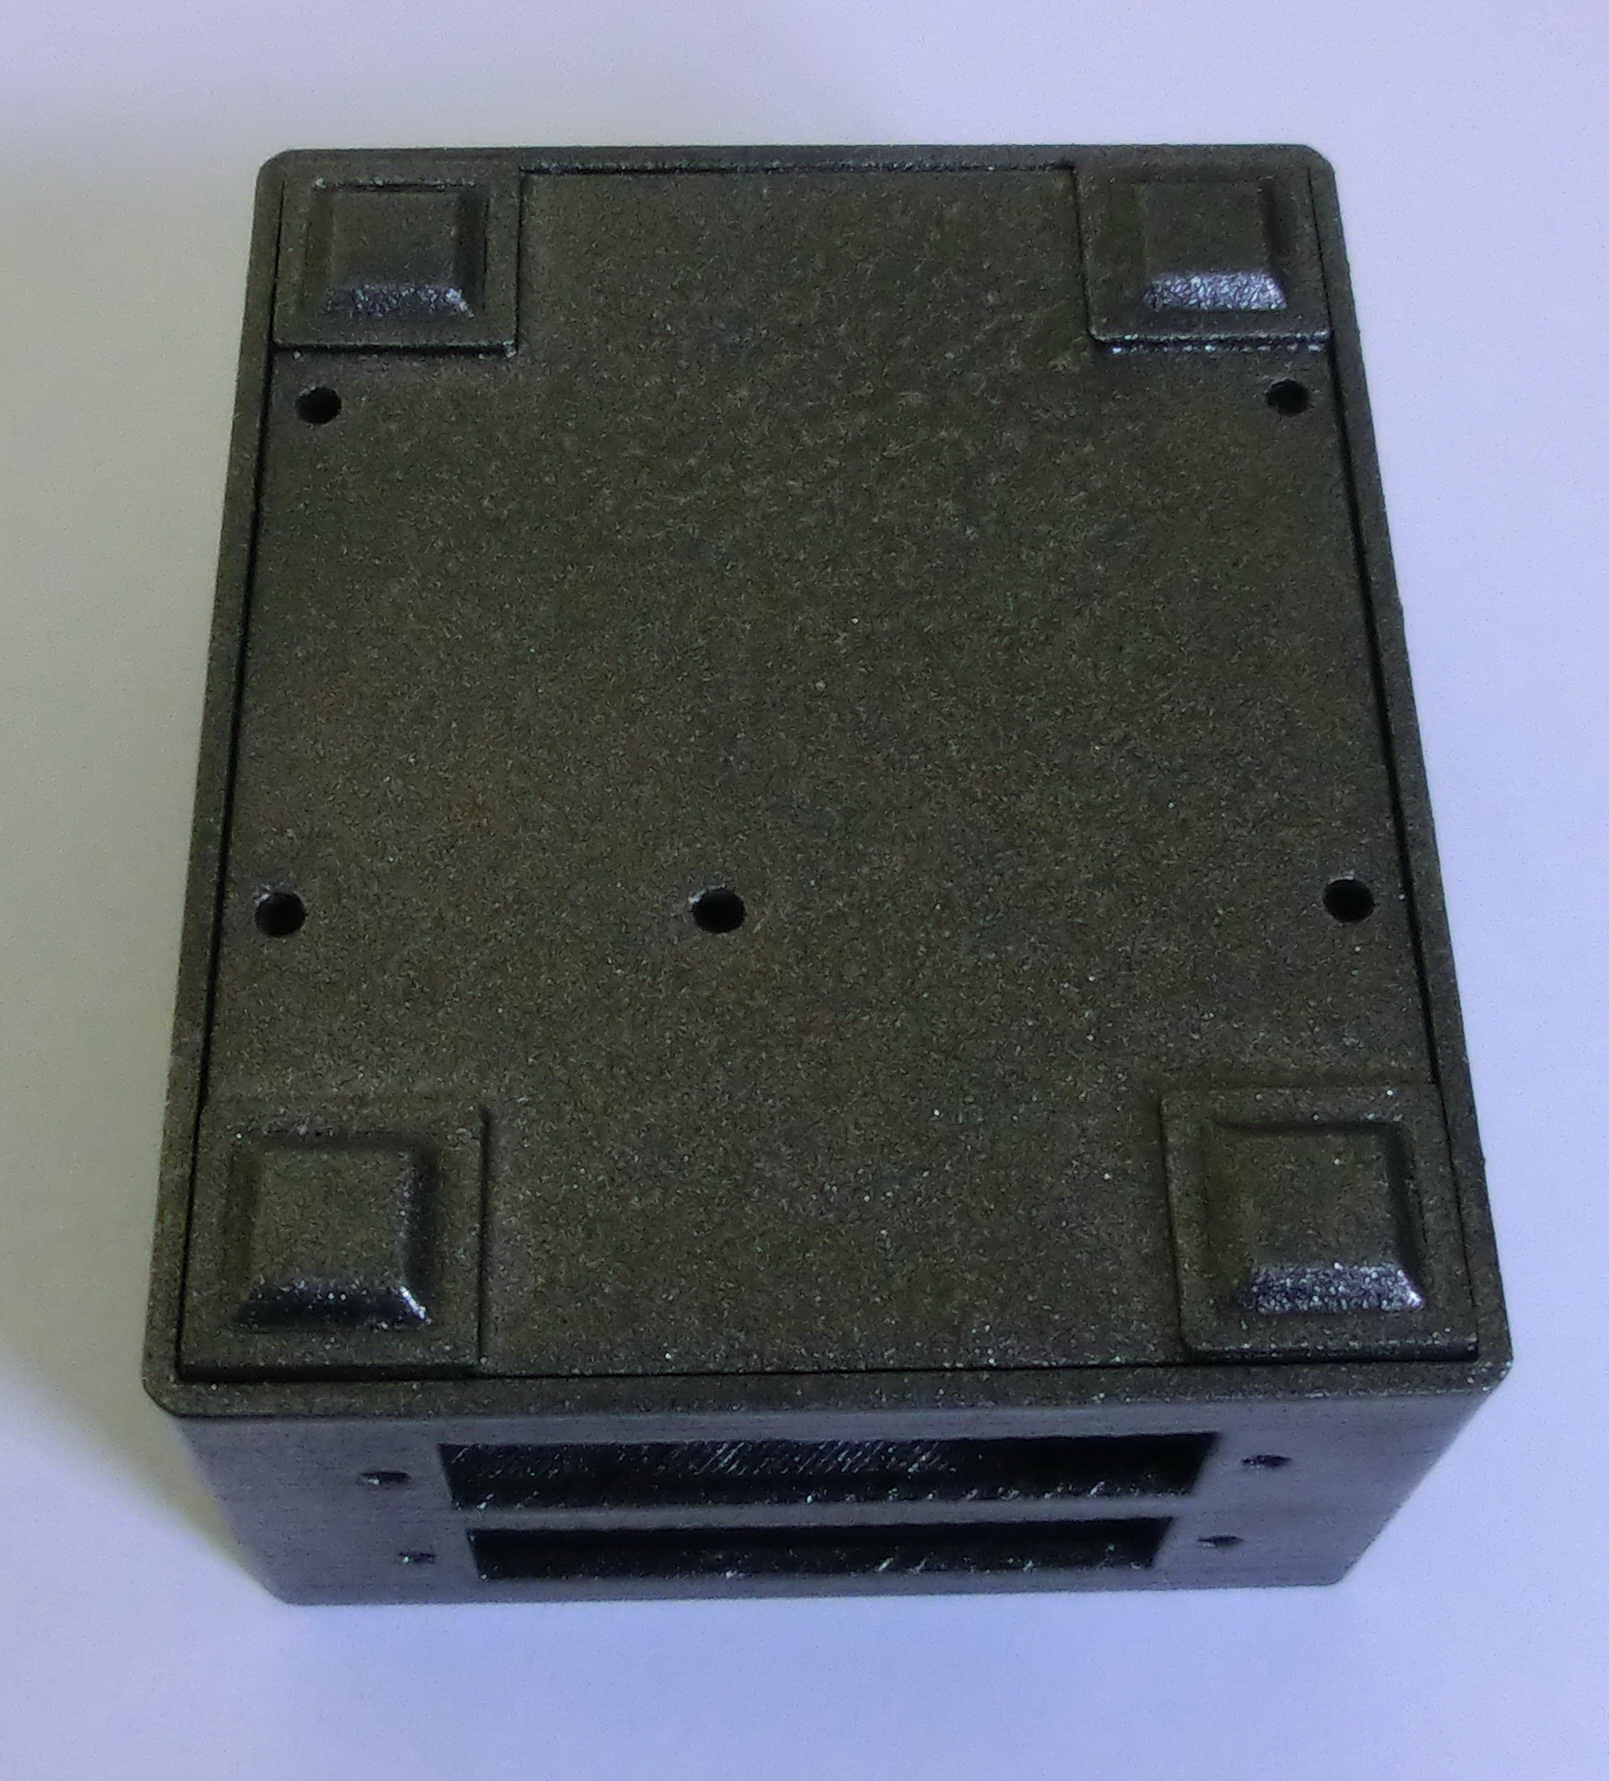
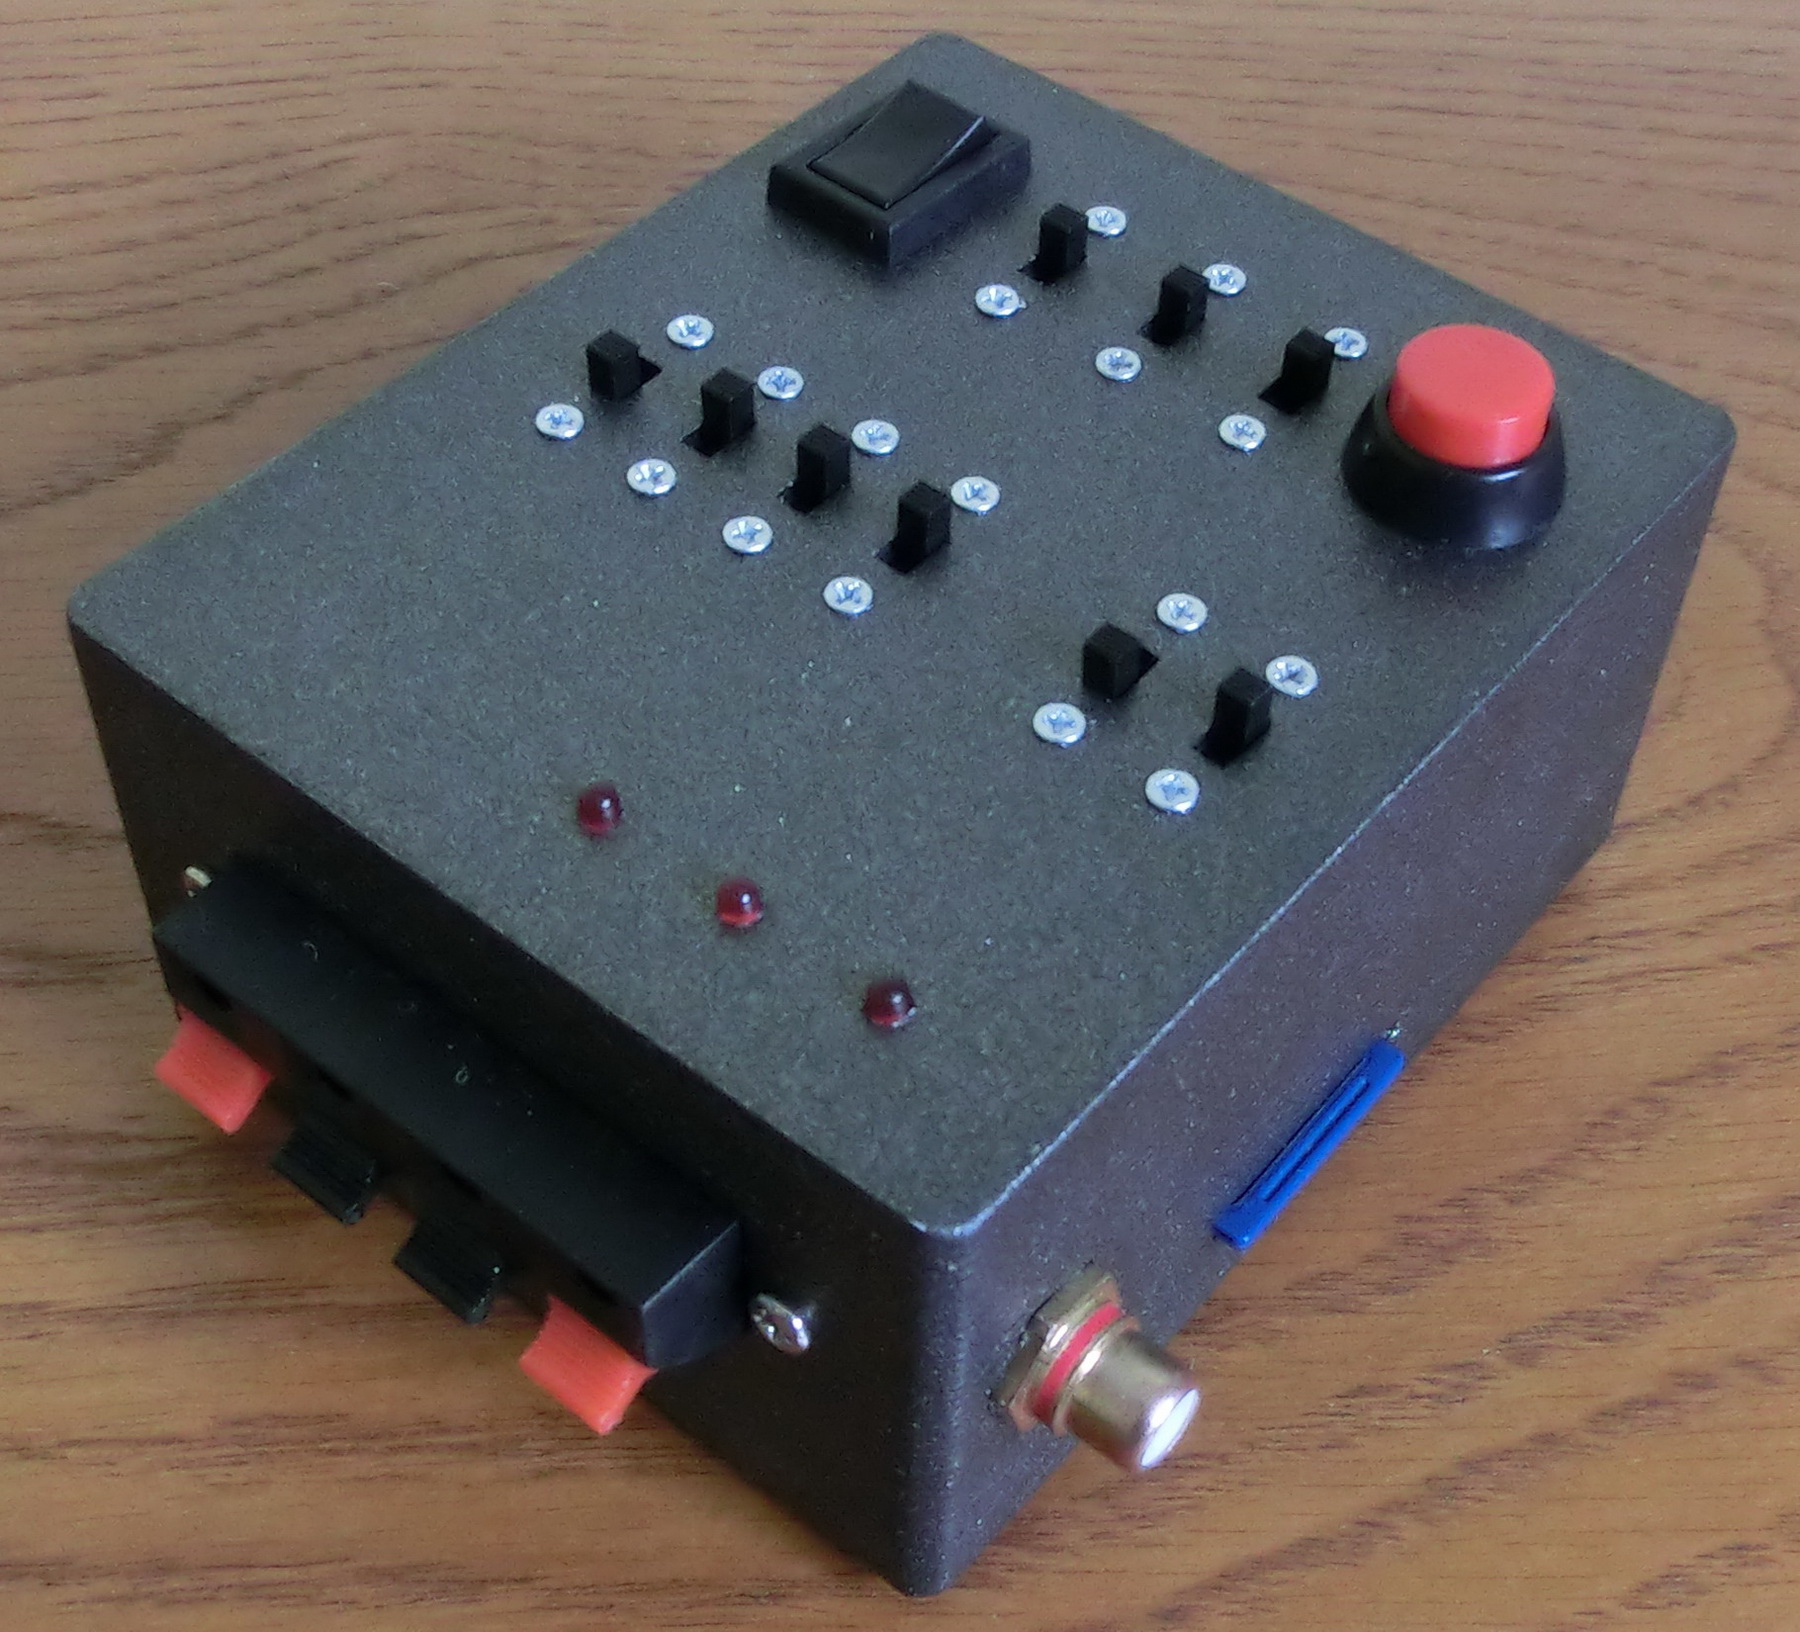
Next step is to prepare an enclosure for the device. I recently got my first 3D printer and decided to use it. First I designed the 3D model of a simple case, then I printed it out, cleaned it and painted the enclosure. Here’s a nice series of pictures showing the entire process.

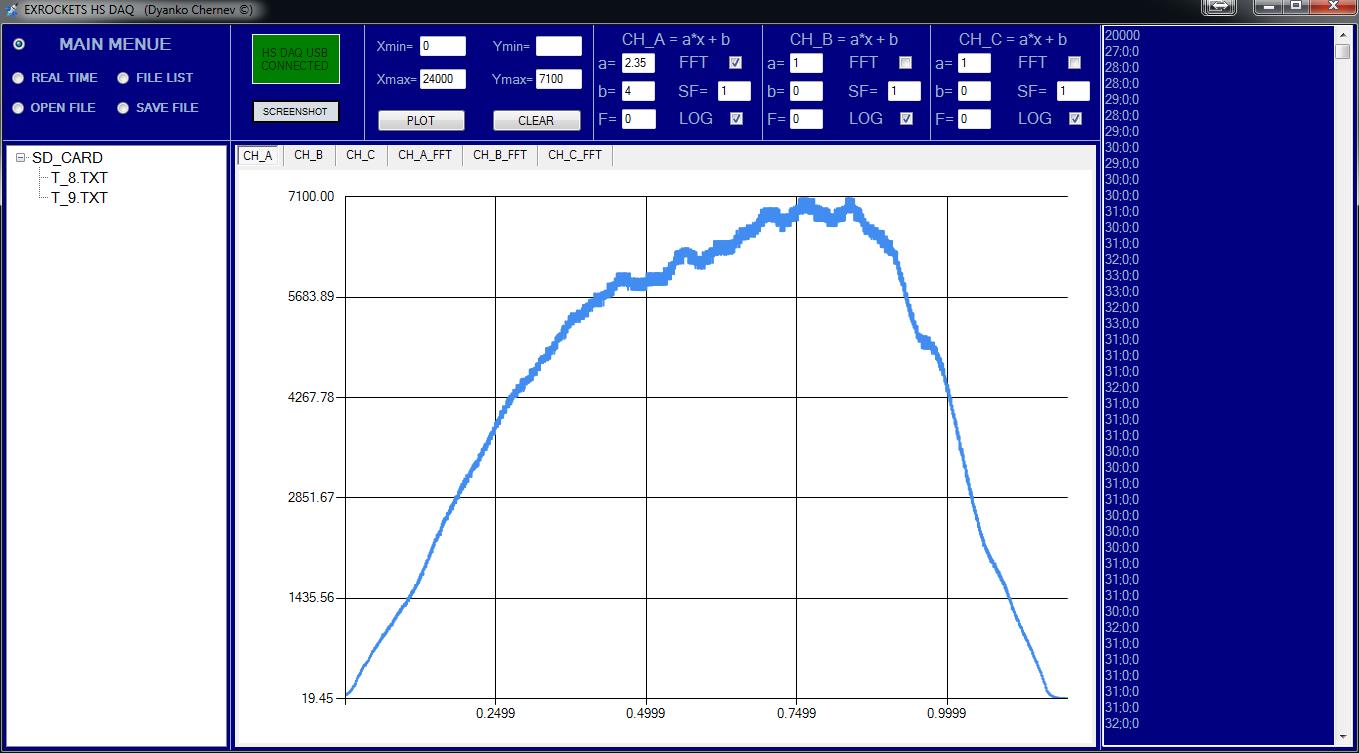
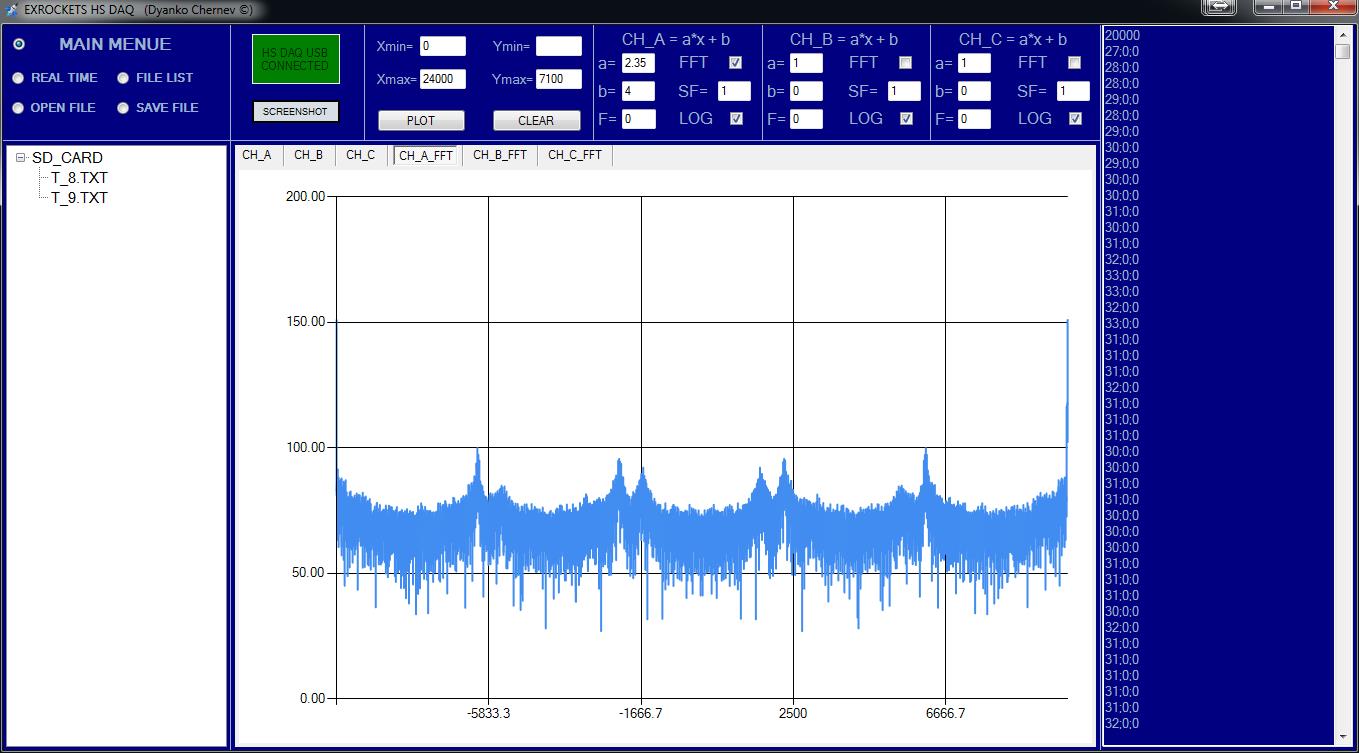
Although this DAQ can be used without any PC host software and you can analyze the data with your software of choice, I decided to make a simple and easy to use program for visualization purposes. This program offers only basic data analysis and visualization tools – separate charts for each channel, linear coefficients for each channel, Savitzky–Golay smoothing filter with adjustable window size and FFT chart for each channel. Also you can see the file list on the SD memory card and download the data from the TXT files.
HIGH_SPEED_SMALL_THRUST_STAND_APP.zip
HIGH_SPEED_SMALL_THRUST_STAND_FIRMWARE.zip
HIGH_SPEED_SMALL_THRUST_STAND_CADCAM.ZIP
CASE_3D.zip
You have been one busy man Dyanko. Excellent work.
Ed